Wise Wedding: Let's Talk Save the Dates

You most likely have in recent years either received a variety of Save the Dates or have walked into friends home and noticed the cluster of Save the Dates hanging on the refrigerator. They come in all forms, from beautiful thick cards with gold foil, to lovely photos of the happy couple, to simple magnets to remind the guest of the upcoming nuptials. They are all great options, all worthy of being hung in a prominent place of honor —but which one is best for you?

Since engagement season is now upon us (there is something about those fall leaves and cozy holiday vibes, am I right?) Save the Date season is not far behind. Since many couples plan their wedding to be the following year—and most in the months between April-September—plan to send or receive Save the Dates in the 6 to 9-month mark before your wedding. Usually, you will see an influx of these pretty things around January & February.

WiseWedding_SavetheDate.jpg

What is a Save the Date?

A save the date is a card that notifies your guests to reserve or “saves the date” of your wedding. This is important to not only make sure all those you love are able to make the date but allow people ample time to schedule travel arrangements. I also like to remind people this is the first piece that people will receive giving them the first impression of your wedding and who you are as a couple. It can be a stand-alone design or you can sprinkle in pieces of your future invite design. Either way these should be fun and show off you and your forever love how YOU see best.

LinaLuluPaperie_SavetheDate_Photo2020.jpg

What Information is actually needed?

Four things not to forget to include are:

  1. You and your forever loves names: Make sure to include both your first and last names somewhere on your Save the Date. You may be sending these to family friends that don’t recognize just your face or first name.

  2. Your wedding date(s): Some weddings are more than one day. If all guests are invited to multiple events on the wedding weekend, include those dates for them to know ahead of receiving the invite.

  3. Your location or city of the wedding: You may not know the venue quite yet, but have a date and city picked out and want to let people know sooner rather than later. This is important especially if you plan to have a destination wedding. Including the destination also allows people to know what type of travel accommodations they should be booking such as flights, hotels, rental cars, etc.

  4. A wedding website: Many couples like to include a wedding website to help people have quick access to information such as hotels, registry, and any other wedding weekend events they may be invited too. This space is great for putting commonly asked questions and cuts down on the questions you and family members may receive throughout the planning process. Even if you don’t have everything on the website when you send out the Save the Dates, I advise to include it to allow people to get familiar with the address for future reference. You may also want to include special travel accommodations such as the best airport, if they will need to book a car or any other information you may find helpful for guests as they plan to make arrangements.

When do I actually send them out?

Many recommend sending out your Save the Dates around the 6-9 month mark before your wedding. If you know you are having a destination wedding outside of the city you live in or that the majority of your guest will be traveling to your wedding, the earlier you should send out your cards. If your destination* wedding is requiring everyone to travel internationally, it’s best to send your Save the Dates around 1 year prior, if possible.

*As noted above, if you just know the location country and date, this information is better than the information given too late for guests to make appropriate arrangements to travel.

TheClyde-Fall2020-14.jpg

Do I have to send it to everyone I plan on inviting?

Yes. You should plan on sending a Save the Date to everyone you plan to invite, even if they are super involved in the planning (like your parents or best friend) or you know they are planning on not attending. By making your guest list early in preparation for sending your Save the Dates, you essentially have created a master list of addresses that you then can use for sending out invitations and track who has replied (hooray!) later on in the planning process.

Everyone who receives a Save the Date should receive an invitation, but you can send an invite to a guest who did not receive a Save the Date. (Sometimes you have a last-minute invite and not sending them a Save the Date is not the end of the world.)

A simple etiquette rule to follow is any guest over 18 years, even if they live in the same house as another guest ( such as their parents) should receive their own Save the Date and definitely their own invite. If you choose to cut down on how many Save the Dates to send, make sure all names of those are to be invited are written out on the envelope to not create any confusion early-on on the families part.

JandM_Savethedate.jpg

Choosing the Right Design

Remember that fridge with all those Save the Dates? I bet you do, thus you know that there are hundreds of designs and choices to choose from. The main two designs you should decide between is a Photo Card vs a Type Driven card. Which one is better?

LinaLuluPaperie_STD_Photo_WebsiteMockUp.jpg

Why would I choose a Photo Card?

As I noted above, your Save the Date is the first impression for many of your loved ones about who you and your partner are as a couple. Many couples are excited to take engagement photos and a photo Save the Date card is the perfect place to use them! They will introduce and showcase your gorgeous faces as well as deliver important information to your guests.

2020-02-27+15.00.52.jpg

Why would I choose a Type Driven card?

First, when I say type-driven I mean no photos of you anywhere on the card. This style though could include a beautiful illustration or calligraphy elements that become the main focal point. I personally love this style as it does two amazing things: First, your Save the Date is the first introduction to not only you but also the feel of your event. You have been carefully choosing colors, textures, and the feel of your wedding. Since guests will have this piece of paper pinned up somewhere for the longest period of any other item, why not showcase some of what is to come? Secondly, you can infuse your personality into the card through fun phrases such as “Let’s get us to the Chaple on time!” or “Let’s celebrate, save our date!” as well as fun illustrations of the venue, landscape, your beloved animal, or even some inside joke. It’s your Save the Date, why not tailor it to be fully unique to you?

Budget-friendly options for you to still send out Save the Dates

If you have not gathered by now, there are a few great reasons to send out your Save the Dates. I understand though that people often will ask if they have to or for budget-friendly options. Here are a few tips to keep costs low for your first impressions:

  1. No fancy printing. It could be tempting to add gold foil or embossment on your Save the Dates, but it isn’t necessary. Since both these printing styles require an extra step, that extra step includes an extra charge. If this element is still something you really would like for your Save the Dates, picking the traditional “Save the Date” phrase can cut down the cost as it will not need to be created.

  2. No fancy add on’s. Since most people will be pinning this up on a board or fridge, you don’t have to add any extra items to create extra costs such as wax seals, ribbons, etc. Choosing a standard size, such as a 5” x 7” can keep postage cost minimal.

  3. No extra calligraphy. I will always advocate for calligraphy, but on a Save the Date going with digital printing will be just as beautiful and will be another cost-saver in the long run.

If you are looking for a unique Save the Date, I can create a custom design for you, just click here. If you have any further questions about Save the Dates, feel free to contact me here.

Next up, I’ll be talking all about the timeline of invitations and the importance of prepping in advance.
Styled Shoot: Bohemian Chicago Wedding

This past summer, the talented Teresa Williams set-up a styled shoot to capture all the things that go into a wedding for her new course, The Wedding Photography Accelerator. I was and am so honored I got to be apart of this amazing resource in the tiniest way. Check out all these amazing vendors and the stunning outcome of this shoot!

Fall2020_TeresaWilliams_StyledShoot_02.jpg

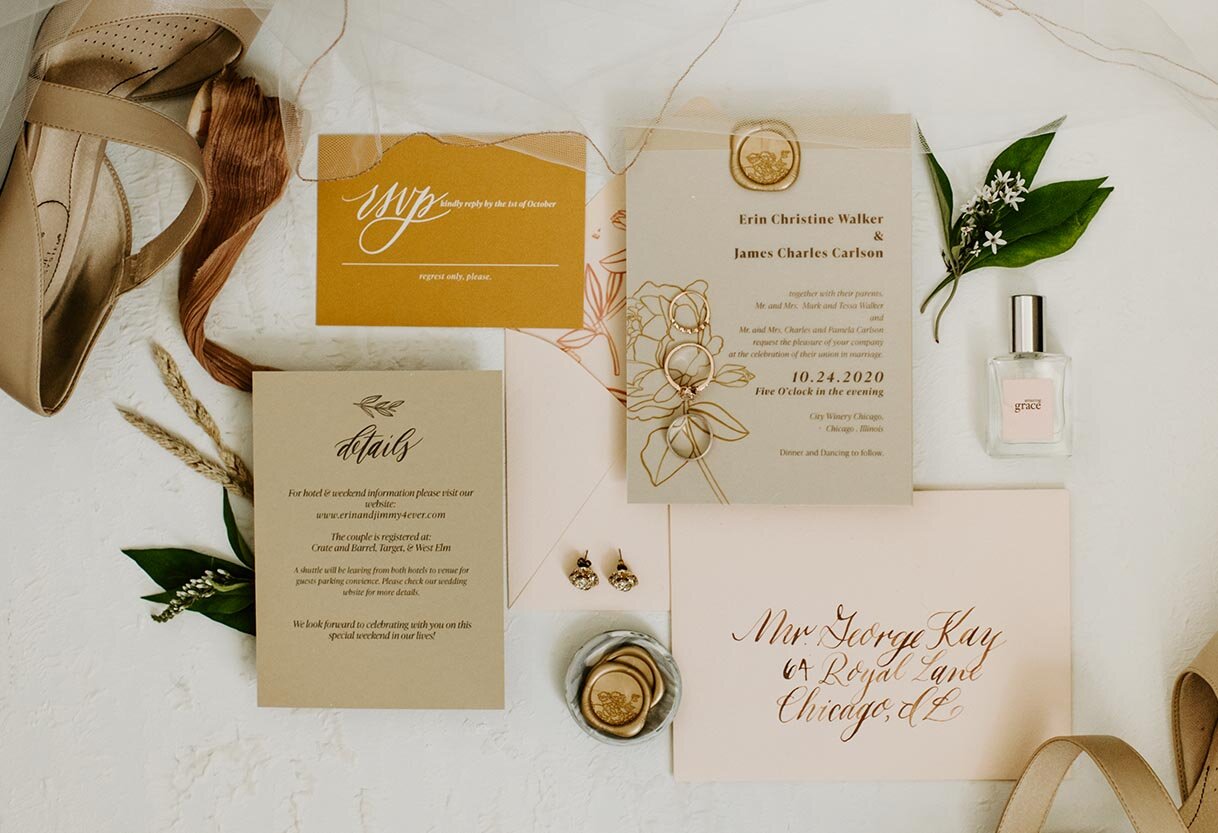
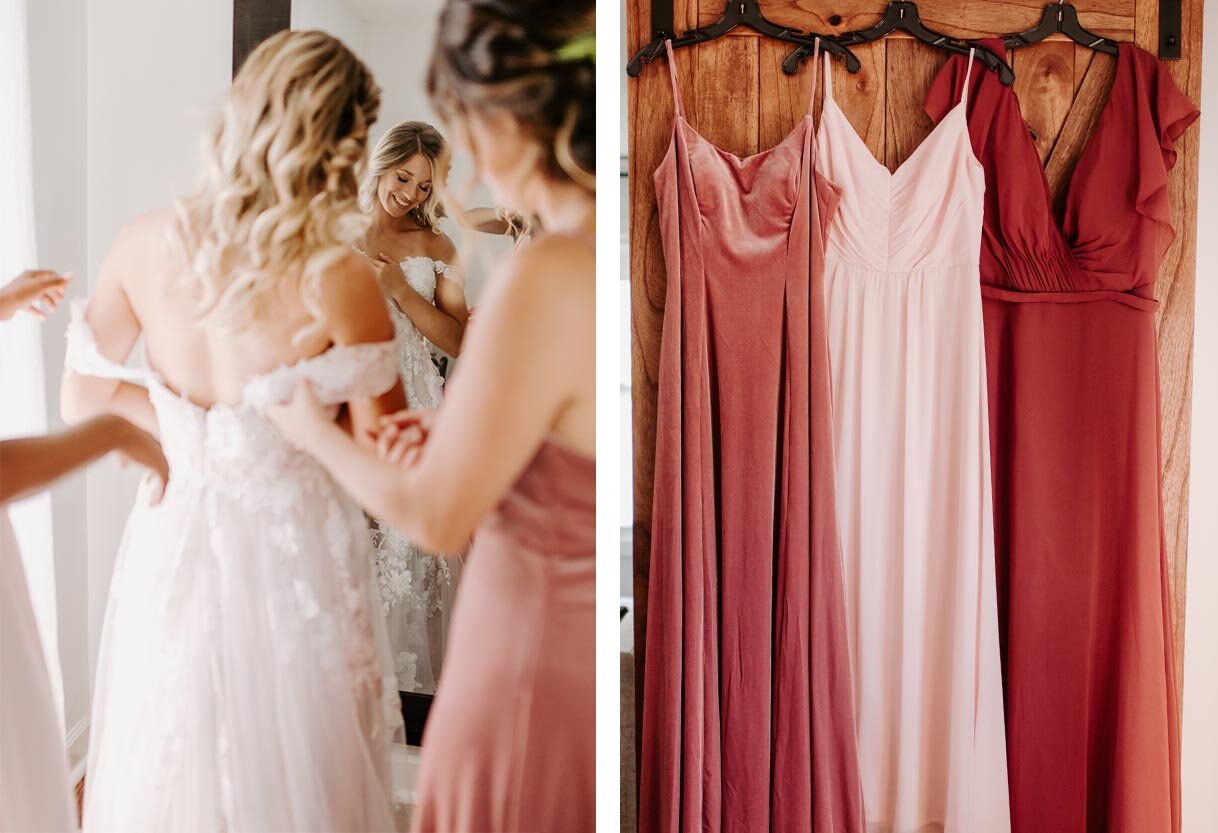
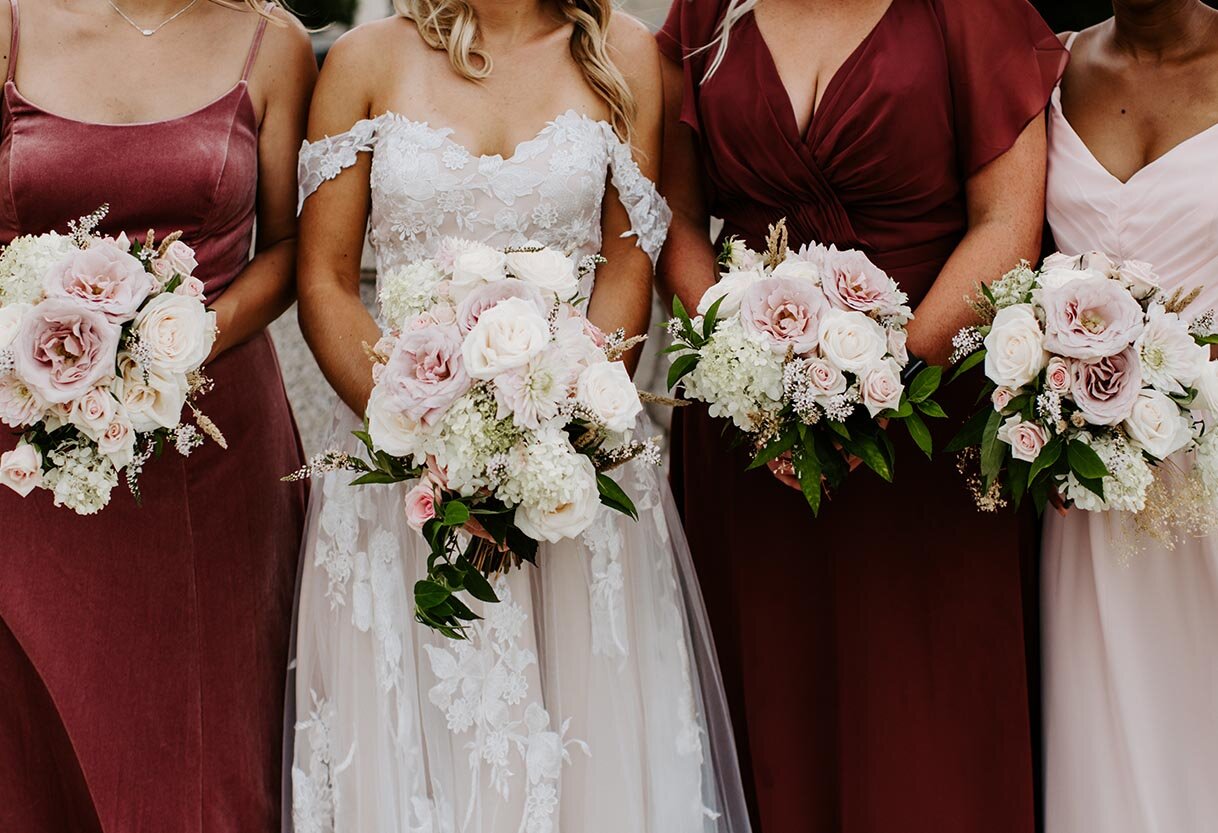
When Teresa asked me to be apart of this shoot, she sent me a mood board with the lushest and riches organic colors and shapes. I grabbed a few designs I had previously used and combined them to make a “custom” suite for the shoot. I pulled the primary earthy tones from the florals and the secondary color of a dusty pink and the beery red from the bridesmaid dresses. I love the way it turned out!

Fall2020_TeresaWilliams_StyledShoot_03.jpg
Fall2020_TeresaWilliams_StyledShoot_09.jpg

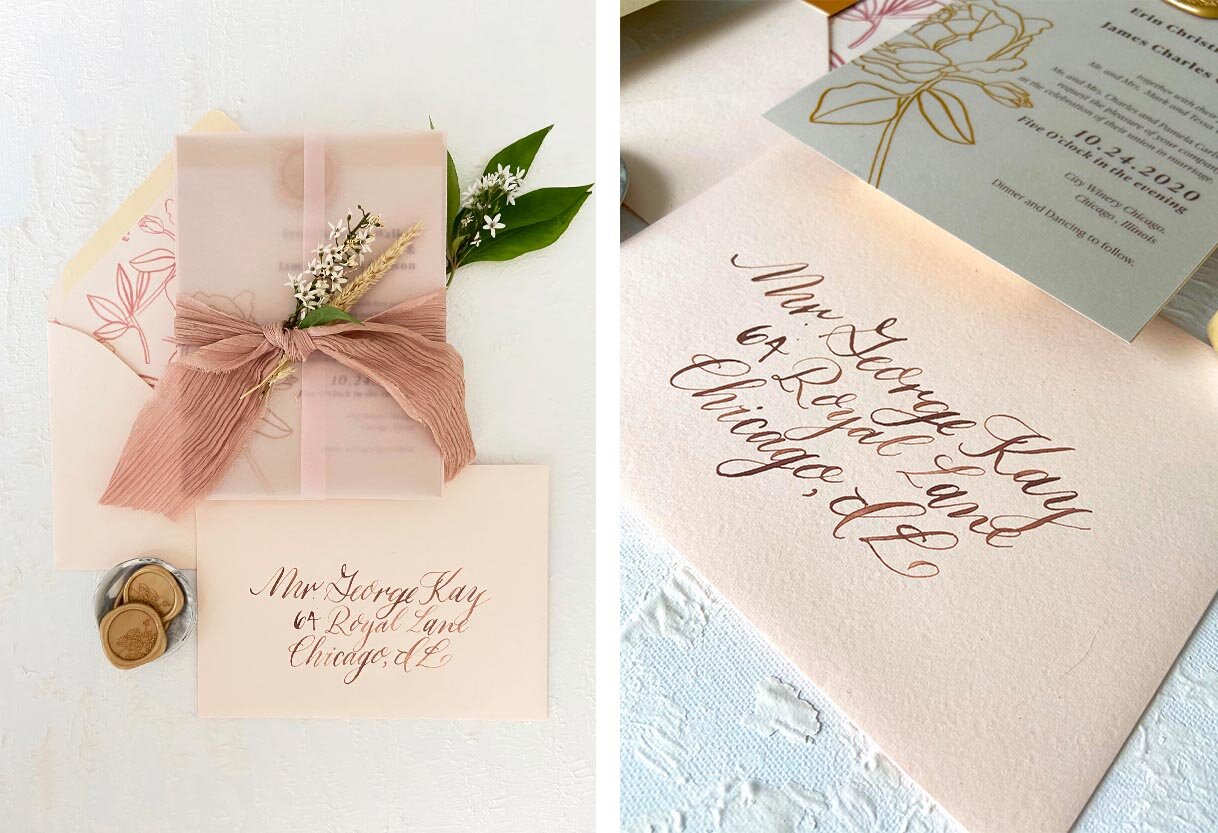
I love the trend of natural colors being used all year long. Since the pinks and deep reds were going to be the primary accent colors at the ceremony, I choose to use them as the accent colors of the paper goods. In the main suite, I played off the natural colors of the ceremony backdrop with a mix of brown, cream and gold. I loved finishing the suite off with a pink, vellum jacket tied with a natural dyed, silk ribbon. For a romantic touch, I placed a few of the smaller flowers in the ribbon.

Fall2020_TeresaWilliams_StyledShoot_01.jpg
Fall2020_TeresaWilliams_StyledShoot_04.jpg

How beautiful are the details of this ceremony backdrop? The natural architect of the venue, Artifact Events, was elevated but not hidden by this beautiful installation from Posh Studio Rentals. All the details of the day came together in the dreamiest way!

Fall2020_TeresaWilliams_StyledShoot_07.jpg
Fall2020_TeresaWilliams_StyledShoot_08.jpg
Fall2020_TeresaWilliams_StyledShoot_06.jpg
Fall2020_TeresaWilliams_StyledShoot_05.jpg

Vendor List:

Photographer: @_teresawilliams 
Venue: @artifacteventschicago
Cake: @lusciouslayersss
Invitation Suite: @linalulupaperie
Prop + Event Hire: @poshstudiorentals
Florist: @bkfloralandevent
Hair Stylist: @emilyraebridalhair 
Makeup Artist: @alyssadianamakeup 
Gown + Suits: @adorebridals 
Videographer: @mrssarahchapman 
Production Assistant: @dani_stratts

Wise Wedding: All About the Timeline

You have your date picked out, you have your venue booked, your photographer scheduled, and all your favorite people are ready to celebrate you! Now we need to get everyone else on the same page and to your event on the right date and at the right time. I joke the invite is the most important item on the wedding checklist, I mean how else are you going to get everyone you love in the same room? I know there are so many more important things, like the ceremony and the marriage itself, but the invite is still a pretty important piece of paper. All jokes aside, couples ask often what is important to include in the invite and when they should actually send it out. The average time a couple spends planning their wedding is around 15 months these days. That’s a decently long time to be planning a party. Then when do you let everyone know about the who, what, where and when?

WiseWedding_PaperGoods_Timeline.jpg

Over the upcoming weeks, I will be going into detail about all things paper, stationery, and calligraphy that you could use for your wedding, reception, and other events celebrating your big day! Here is a brief overview of each item. (Psst…Bookmark this post as a shortcut to the posts to come! I will be updating each section below with the link to the more in-depth post)

Sending out Save the Dates

Your Save the Date should be sent out around the 6-month mark, or sooner if travel is involved for a destination wedding.

Your Save the Date should be sent out around 6-9 months before the wedding, and at around the 1-year mark if it is an international destination wedding. The more travel involved the sooner the card should be sent out.

Save the Dates can include pictures, just typography, a fun illustartion of you as the couple or the destination you are getting married. These are the first introduction to your significant other to many family members, and will clue your guests into your vibe and potentially the feel of your wedding.

Sending out Invitations:

You should start thinking about invitation design around the 4-6 month mark before the wedding. The invitation should be sent out around the 2-month mark before the wedding.

DSC_5080.jpg

Since the invitation is the “main event” and involves a few more pieces and more information than the Save the Date, we advise you to start the design process early on. If you choose from the collection with minimal changes, it can be anywhere from 4- 6 week period. If you choose to go custom, depending on the print style, at a minimum with a digitally-printed invitation, you are looking at around 6-8 weeks for design and production. If you are looking for anything additional (letterpress, foil, ribbon, wax seals, custom maps, liners, calligraphy, etc) it can potentially add more time to that process by a few weeks depending on guests count.

That’s at minimum 2 months of back and forth to help me create your invite, which in the grand scheme of things is so important to get all the right information on the right cards and out to the right people, am I right? It is also important to give your designer enough time to creatively work through your requests and give you the best options. Start inquiring about invitations at the 6-month mark. Especially for custom work, as a designer, I do not create items perfectly the first time around. By putting the work upfront in filling out your questionnaire, giving me complete information, color swatches, and a mood board is how you will help me create that custom, unique design that is just right for you and your fiancé(e) and be the perfect complement to your Big Day!

As noted above, the more info you have for your day the better. By having your date set, the venue booked, and having a rough idea or initial design meeting with your wedding planner on how the look and feel of your day will be a huge help when we start talking about your invitations. As soon as you have an idea of what you like, we can get started talking about design for your paper goods too!

I try to deliver the full suite at least a week prior to the “deadline” to ensure you can double-check your guest list and everything is in order. Check out my Wise Wedding: Invitation Details post for more information ( link will be posted here when ready).

RSVP information

Reply cards or RSVP cards are sent out with the invite 2 months before the wedding date.

Your RSVP is included in your invitation suite and will be sent out to all your guests when your invite is. Typically an RSVP date is 1 month before the wedding. This gives you ample time to make sure each guest has replied back to confirm with the caterer, start seating arrangements, or for you to track down replies in case an invite was lost in the mail or from an inconsiderate guest. Each venue is different and may require a guest count sooner or later than the traditional 1-month mark. Make sure to double-check this info with your planner and/or venue.

Calligraphy for Envelopes

Inquire at the time of your invitations if you are using the same person for design and calligraphy. If you are hiring a separate calligrapher than the invitation designer, inquire 1 month byt the latest before the invitations are to be sent out.

Fall2020_TeresaWilliams_StyledShoot_09.jpg

There are two options when addressing your envelopes, printed envelopes or hand-done calligraphy. Both can be beautiful options, but I am in full support of calligraphy for your mailing envelopes. When will you have another time in your life to really make a statement with your piece of mail? I may be biased, but I truly do believe that your invite feels complete with calligraphy addressing. I personally ask for at least two weeks for 50-100 names or three weeks for 150-250 names from when I receive the envelopes.

Yes, calligraphy can be done “last minute” but doesn’t need to be. Once I (or your designer) have decided on an envelope/paper color and it is ordered, the calligraphy can begin when the envelopes are received. Since you collected all your addresses with your Save the Dates way back around the 9-month mark before the wedding, you have all the information you need to send to your calligrapher. A quick tip is to keep your addresses in a spreadsheet with each guest’s title and full name included ( example. Dr. and Mrs. Jason and Sandra Smith, instead of Jay and Sandy Smith). Most designers and calligraphers, including myself, will ask you for a document like this. Bonus, this spreadsheet can help you track who has RSVPed, help with seating arrangements and keep track of wedding gift thank yous— win!

Designing Day of Items

You should start thinking about day-of items at least 3 months before your wedding date, and start finalizing everything in the 2-month and 1-month mark.

LinaLuluPaperie_EscortCard_Placecards.jpg

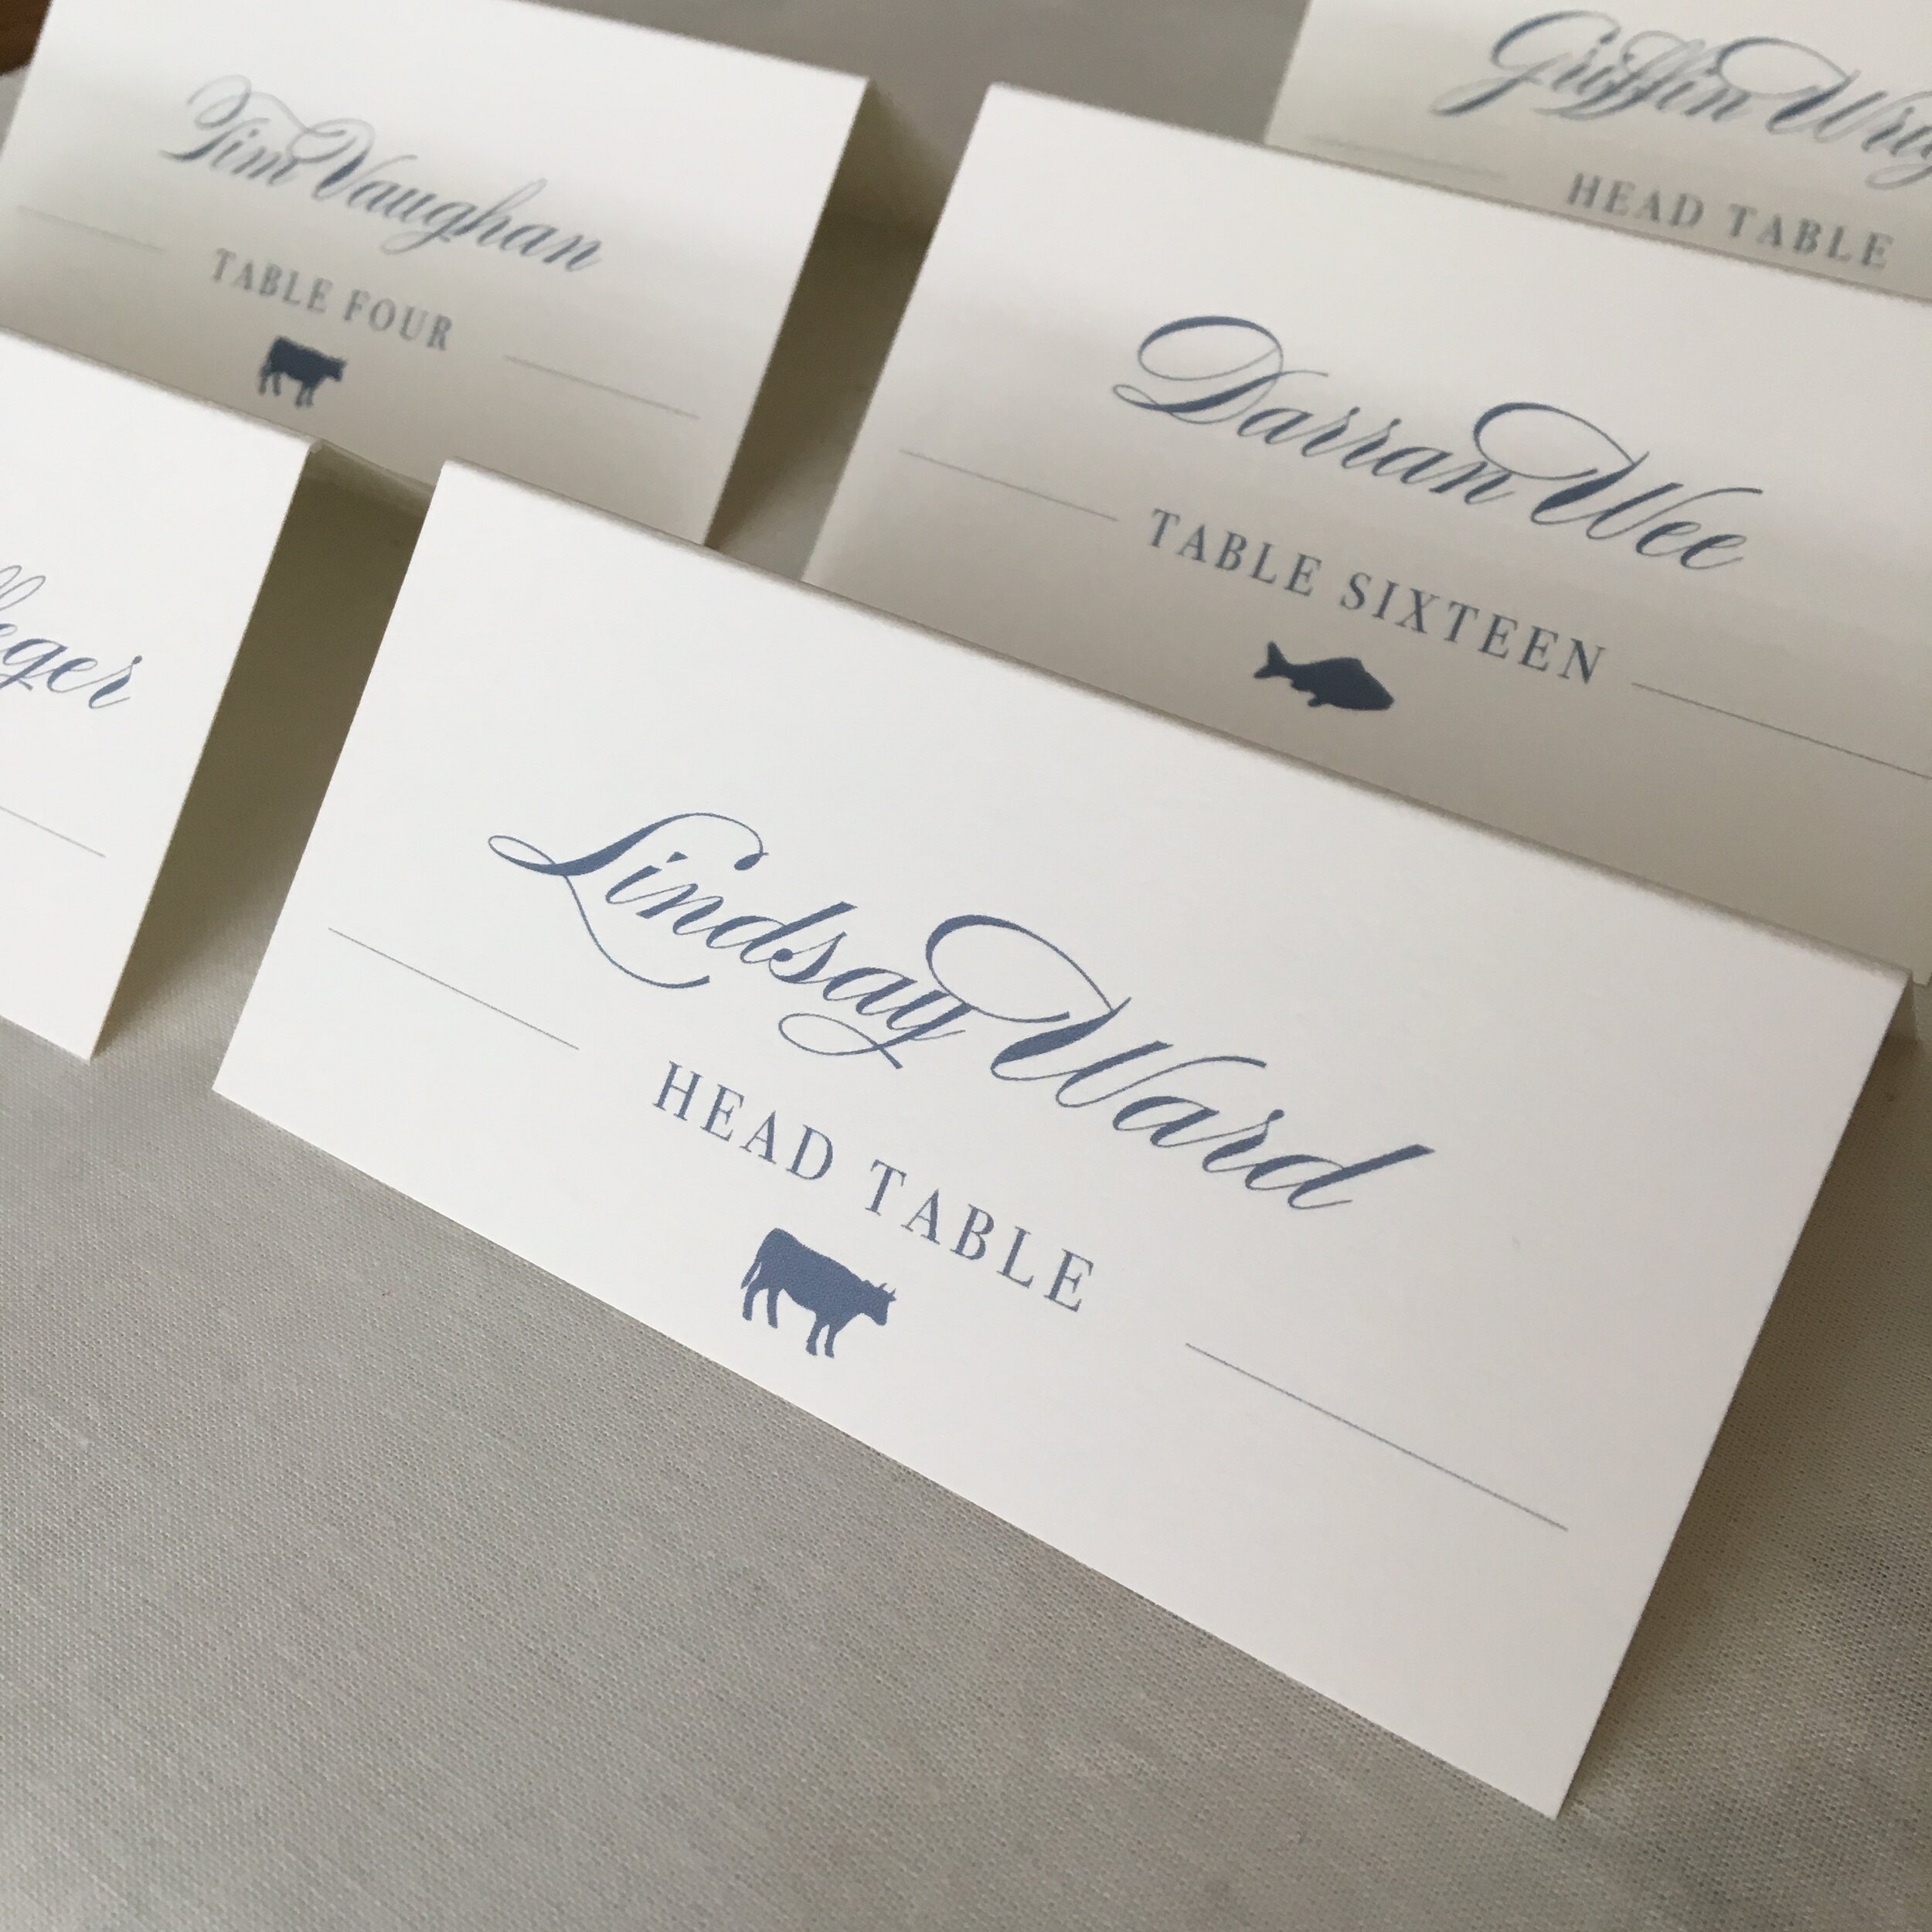
First, let me explain what a “day of item” is. It is anything that you will be needing just for the day of your wedding that adds to your decor and provides information to your guests. This can include programs, venues, place cards, escort cards, seating charts, welcome signs, etc. You should begin thinking about these around the same time you research your invitation look and feel. These items then can be booked around the 2-month mark. When you start your invitations, note to your designer the pieces you would like and which items you would like to coordinate with your invites look and feel and your receptions look at feel. This will allow them enough time to supply you with a design to approve, as well as order the right amount of product for you to receive finished, on time.

The last months of planning a wedding are of course full of finalizing details and making sure everything gets to the venue and set up the way you envisioned. This is no different for your day-of items. Learn more about the specifics of all the day-of items on the Wise Wedding: All the extra details post ( link will be posted here when ready).


Thank You Cards

Send a thank you from any bridal events 2-3 weeks from the event or from receiving the gift. From your wedding, thank you’s should be sent out no later than 3 months.

There is a myth going around that you have 1 year to send your thank you notes out from your wedding. This may be a newer myth due to couples opting to send a thank you card with a photo from their wedding on it, as wedding photos take longer to be edited and delivered to the couple. I recommend ordering a small amount of thank you cards that match your Save the Dates. This way you have themed cards on hand for thank yous for your shower and other bridal events or to write a special note to your bridal party. The nice thing about purchasing custom cards is that they don’t have to have the words “Thank you” printed on them. These cards can be have a pattern that is used in your weddding papergoods or have a monogram of your future, marrried name. By not including the actual words “thank you”, you can order a larger amount of custom cards that can be used for any event, including your wedding thank you notes.

If you have any other questions about the timeline for your paper goods or would like to talk about what I can help you with to check something off your current timeline, contact me here. In the meantime, to keep yourself organized, download my free wedding timeline checklist here.

Simple Additions to your Micro Wedding

The hardest part of planning a wedding in a pandemic is knowing when it is “safe” to celebrate again. With many loved ones now living states apart, gathering at a large wedding is not as simple as it once was.

I have loved seeing the innovation and solution of many couples turning to what is now deemed as a micro-wedding. These small gatherings include their families and inner circle of friends, typically on their intended wedding date, while planning on a gathering and celebrating with other social circles on a future date.

Though it might not be the large gathering you were originally planning, this event can still be beautiful with elegant and special touches that would not have been possible on a larger scale.

Personalized Favors:

Having a smaller gathering allows you to have a more intentional seating placement, as well as allows you to add a special flair with personalized favors! These favors can include engraved mini champaign bottles, holiday ornaments, bottle openers or something you feel like best represents your love story.

Adding the Extras

Fill in some of the gaps with extra beautiful signs at both your ceremony and reception. From a Welcome sign to personalized drink signs, splurge to include these beautiful (and often keep sake) items that can be used at your larger party in the future!

Photo by EV Photography Sign by Lina Lulu Paperie

Photo by EV Photography Sign by Lina Lulu Paperie

Keep Decor Simple, but Sentimental

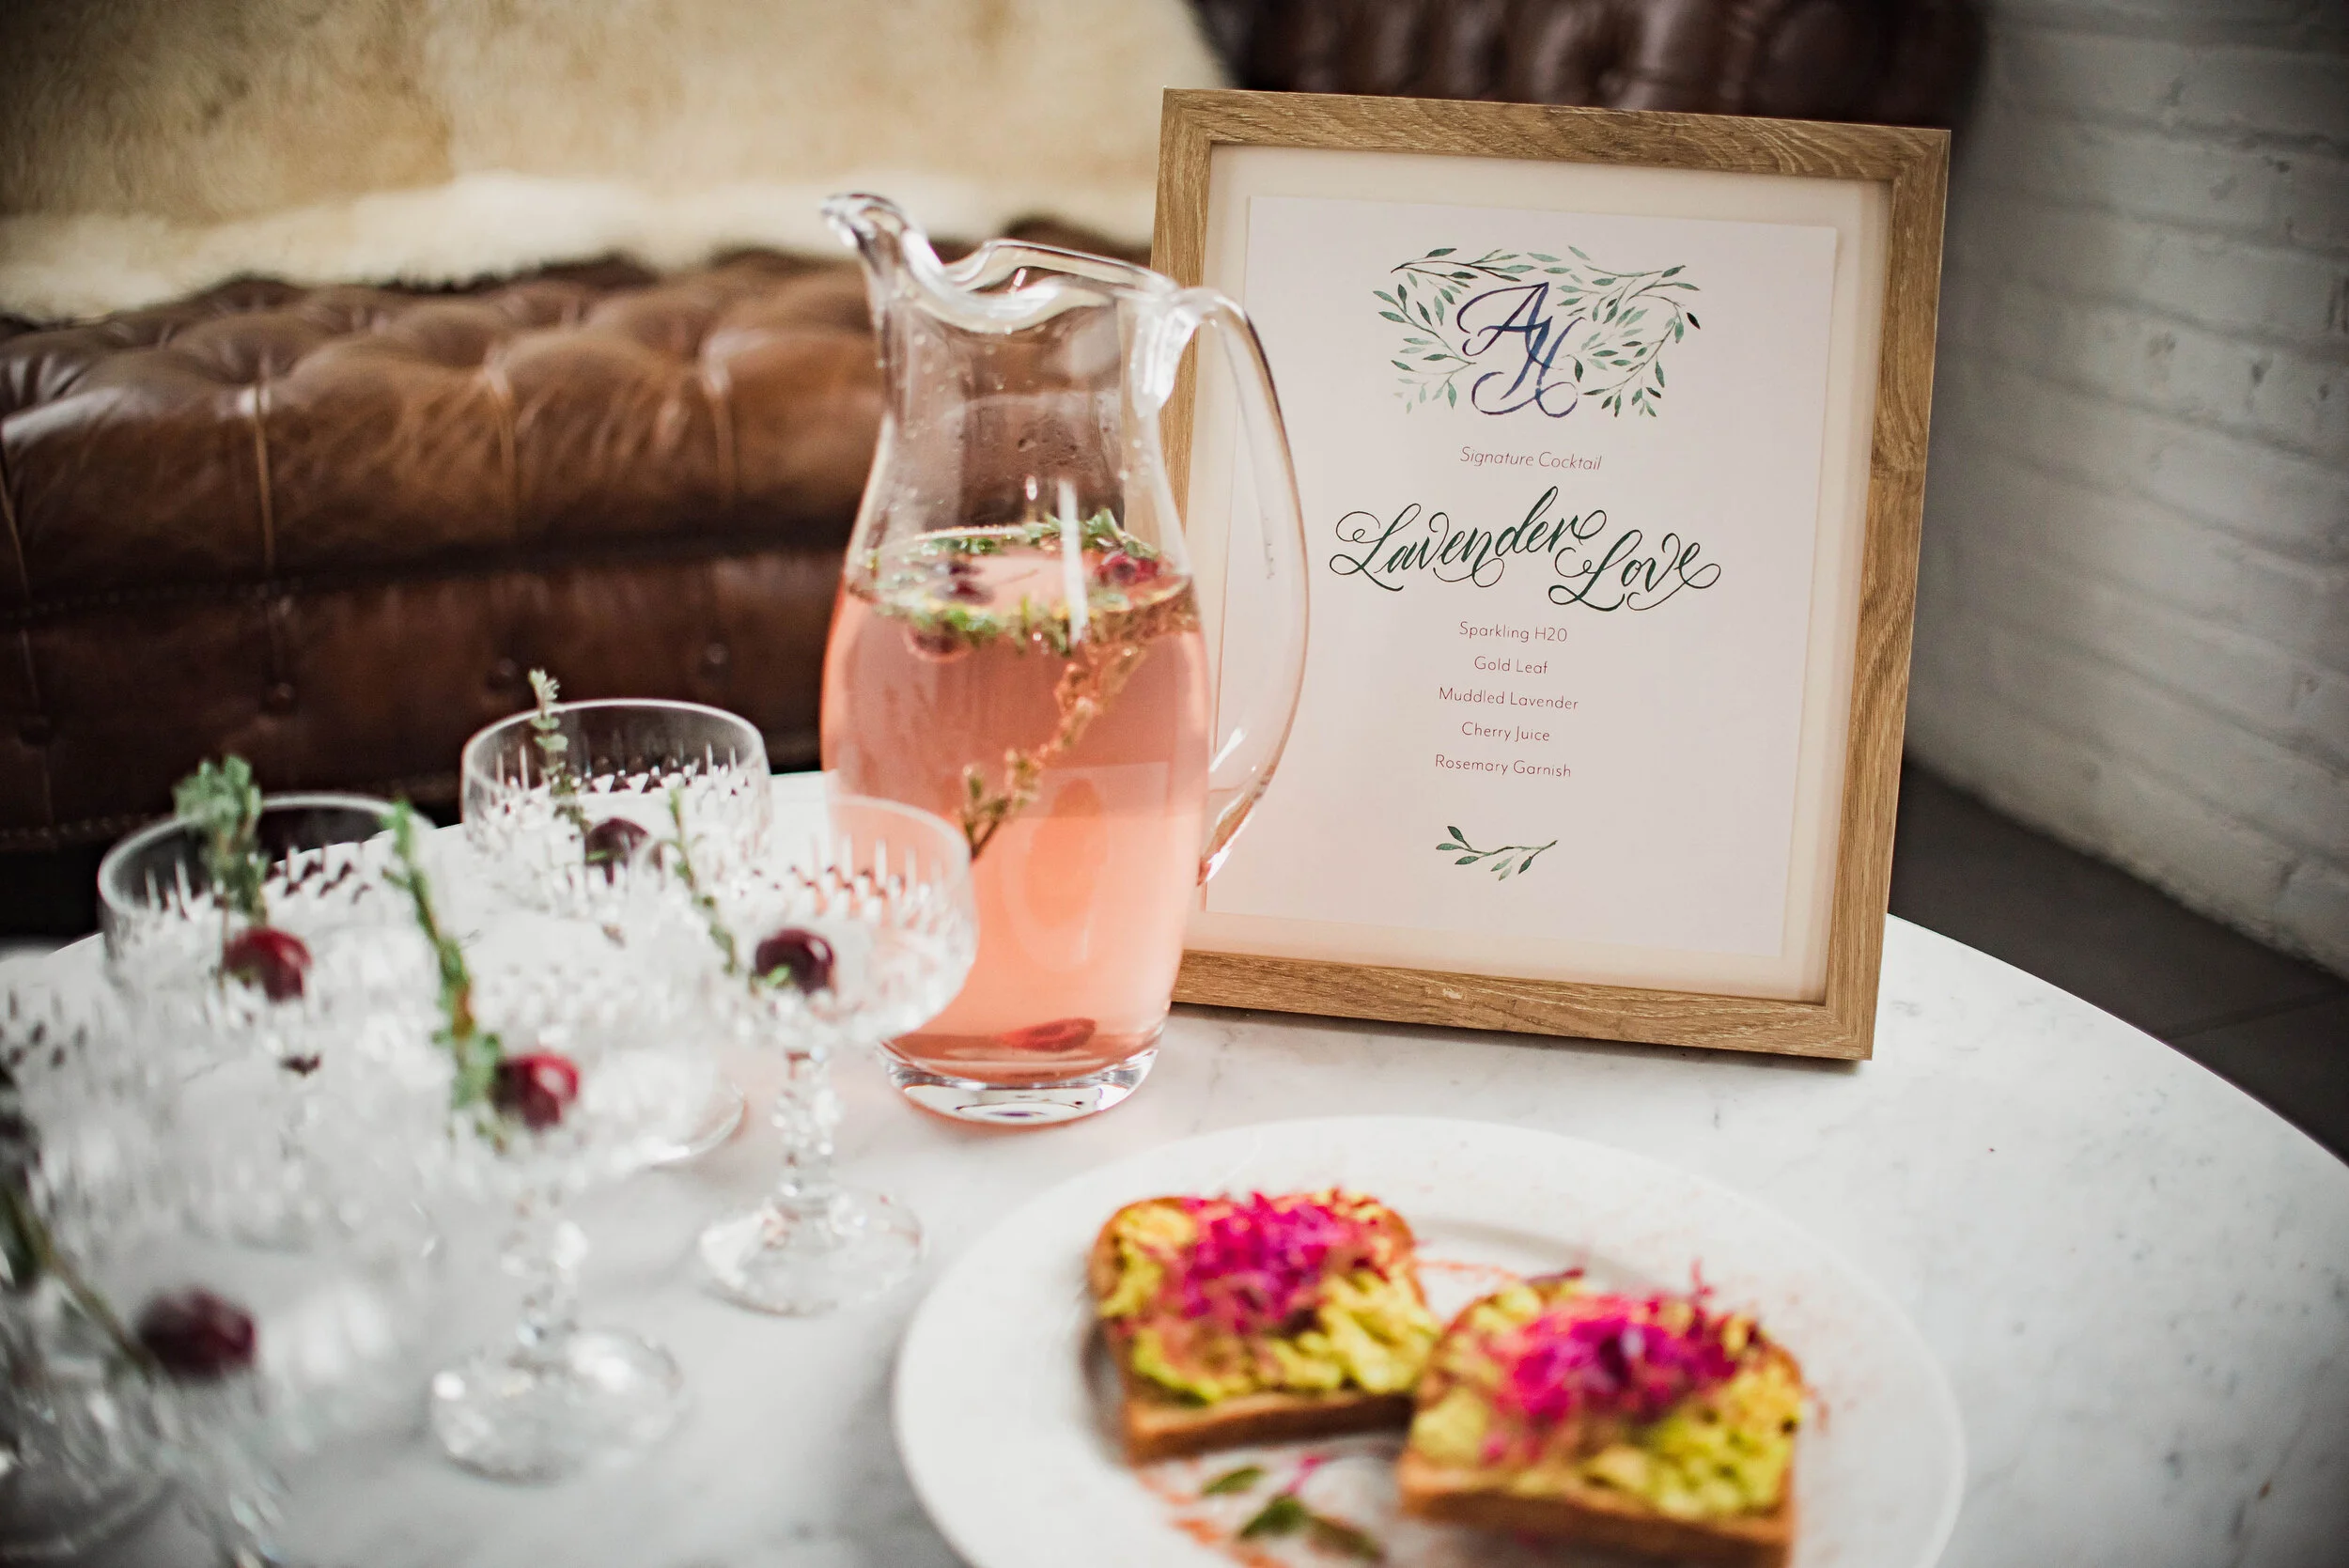
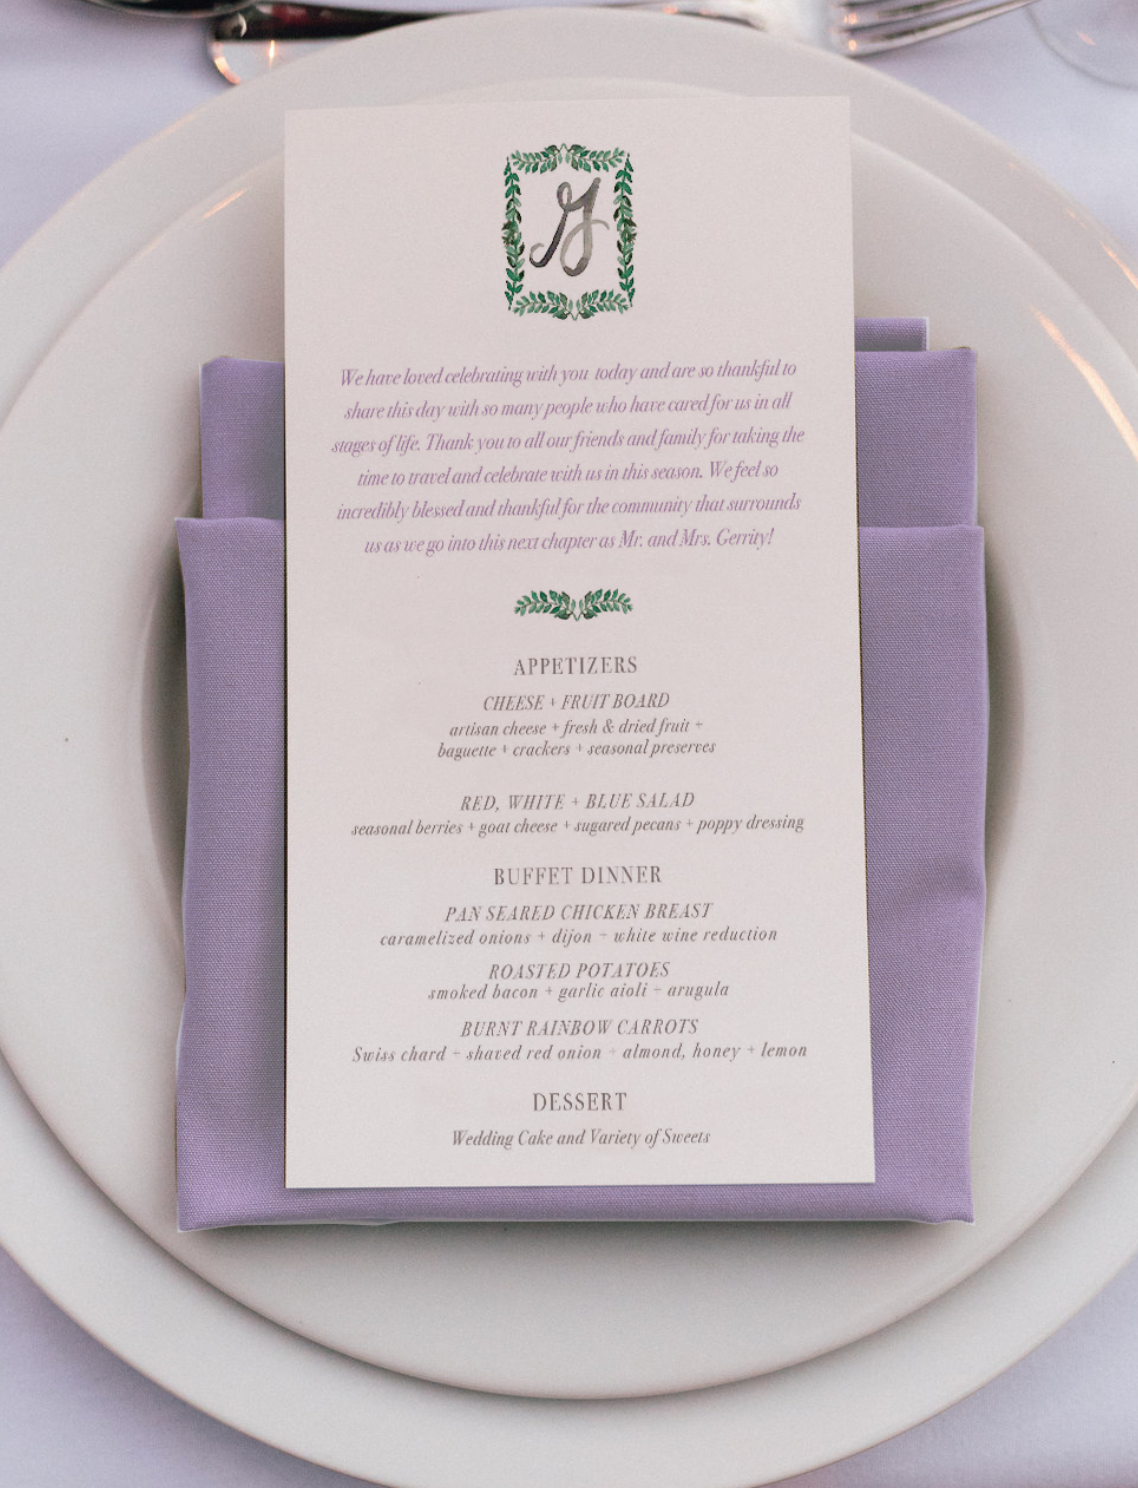
With a smaller group attending will mean you have more time to mingle, dance, and add those special touches that will be meaningful to look back at when you look at your photos. Add those special touches through such things as the same flowers that your partner sent you the first month of dating, adding personalized menus at each place setting, swiping out table numbers for important milestones or places in your relationship, or have a cocktail named after your favorite song or your beloved pet you share (mine would be The Italics after my cat). These details, of course, can be added at any wedding of any size, but are great conversation starters as well as focal points for your guests in the smaller setting.

LinaLuluPaper_Menue

Styled Shoot: Dreamy, Bohemian Style in Chicago

LinaluluPaperie_Chicago_TeresaWilliams_StyledShoot.jpg

When I was asked to be apart of a shoot at Artifact Event Space I couldn’t say “yes” quicker! I have been to this space a few times, as well as helping with events, and it is just so dreamy! The exposed brick, gorgeous antiques, and light pouring in is the perfect setting for any Chicago party. All the touches from each vendor created the most magical blend of an elegant, city wedding with a touch of whimsy bohemian you could ask for!

LinaluluPaperie_Williams_ChicagoStyledShoot_01
LinaluluPaperie_Williams_ChicagoStyledShoot_04

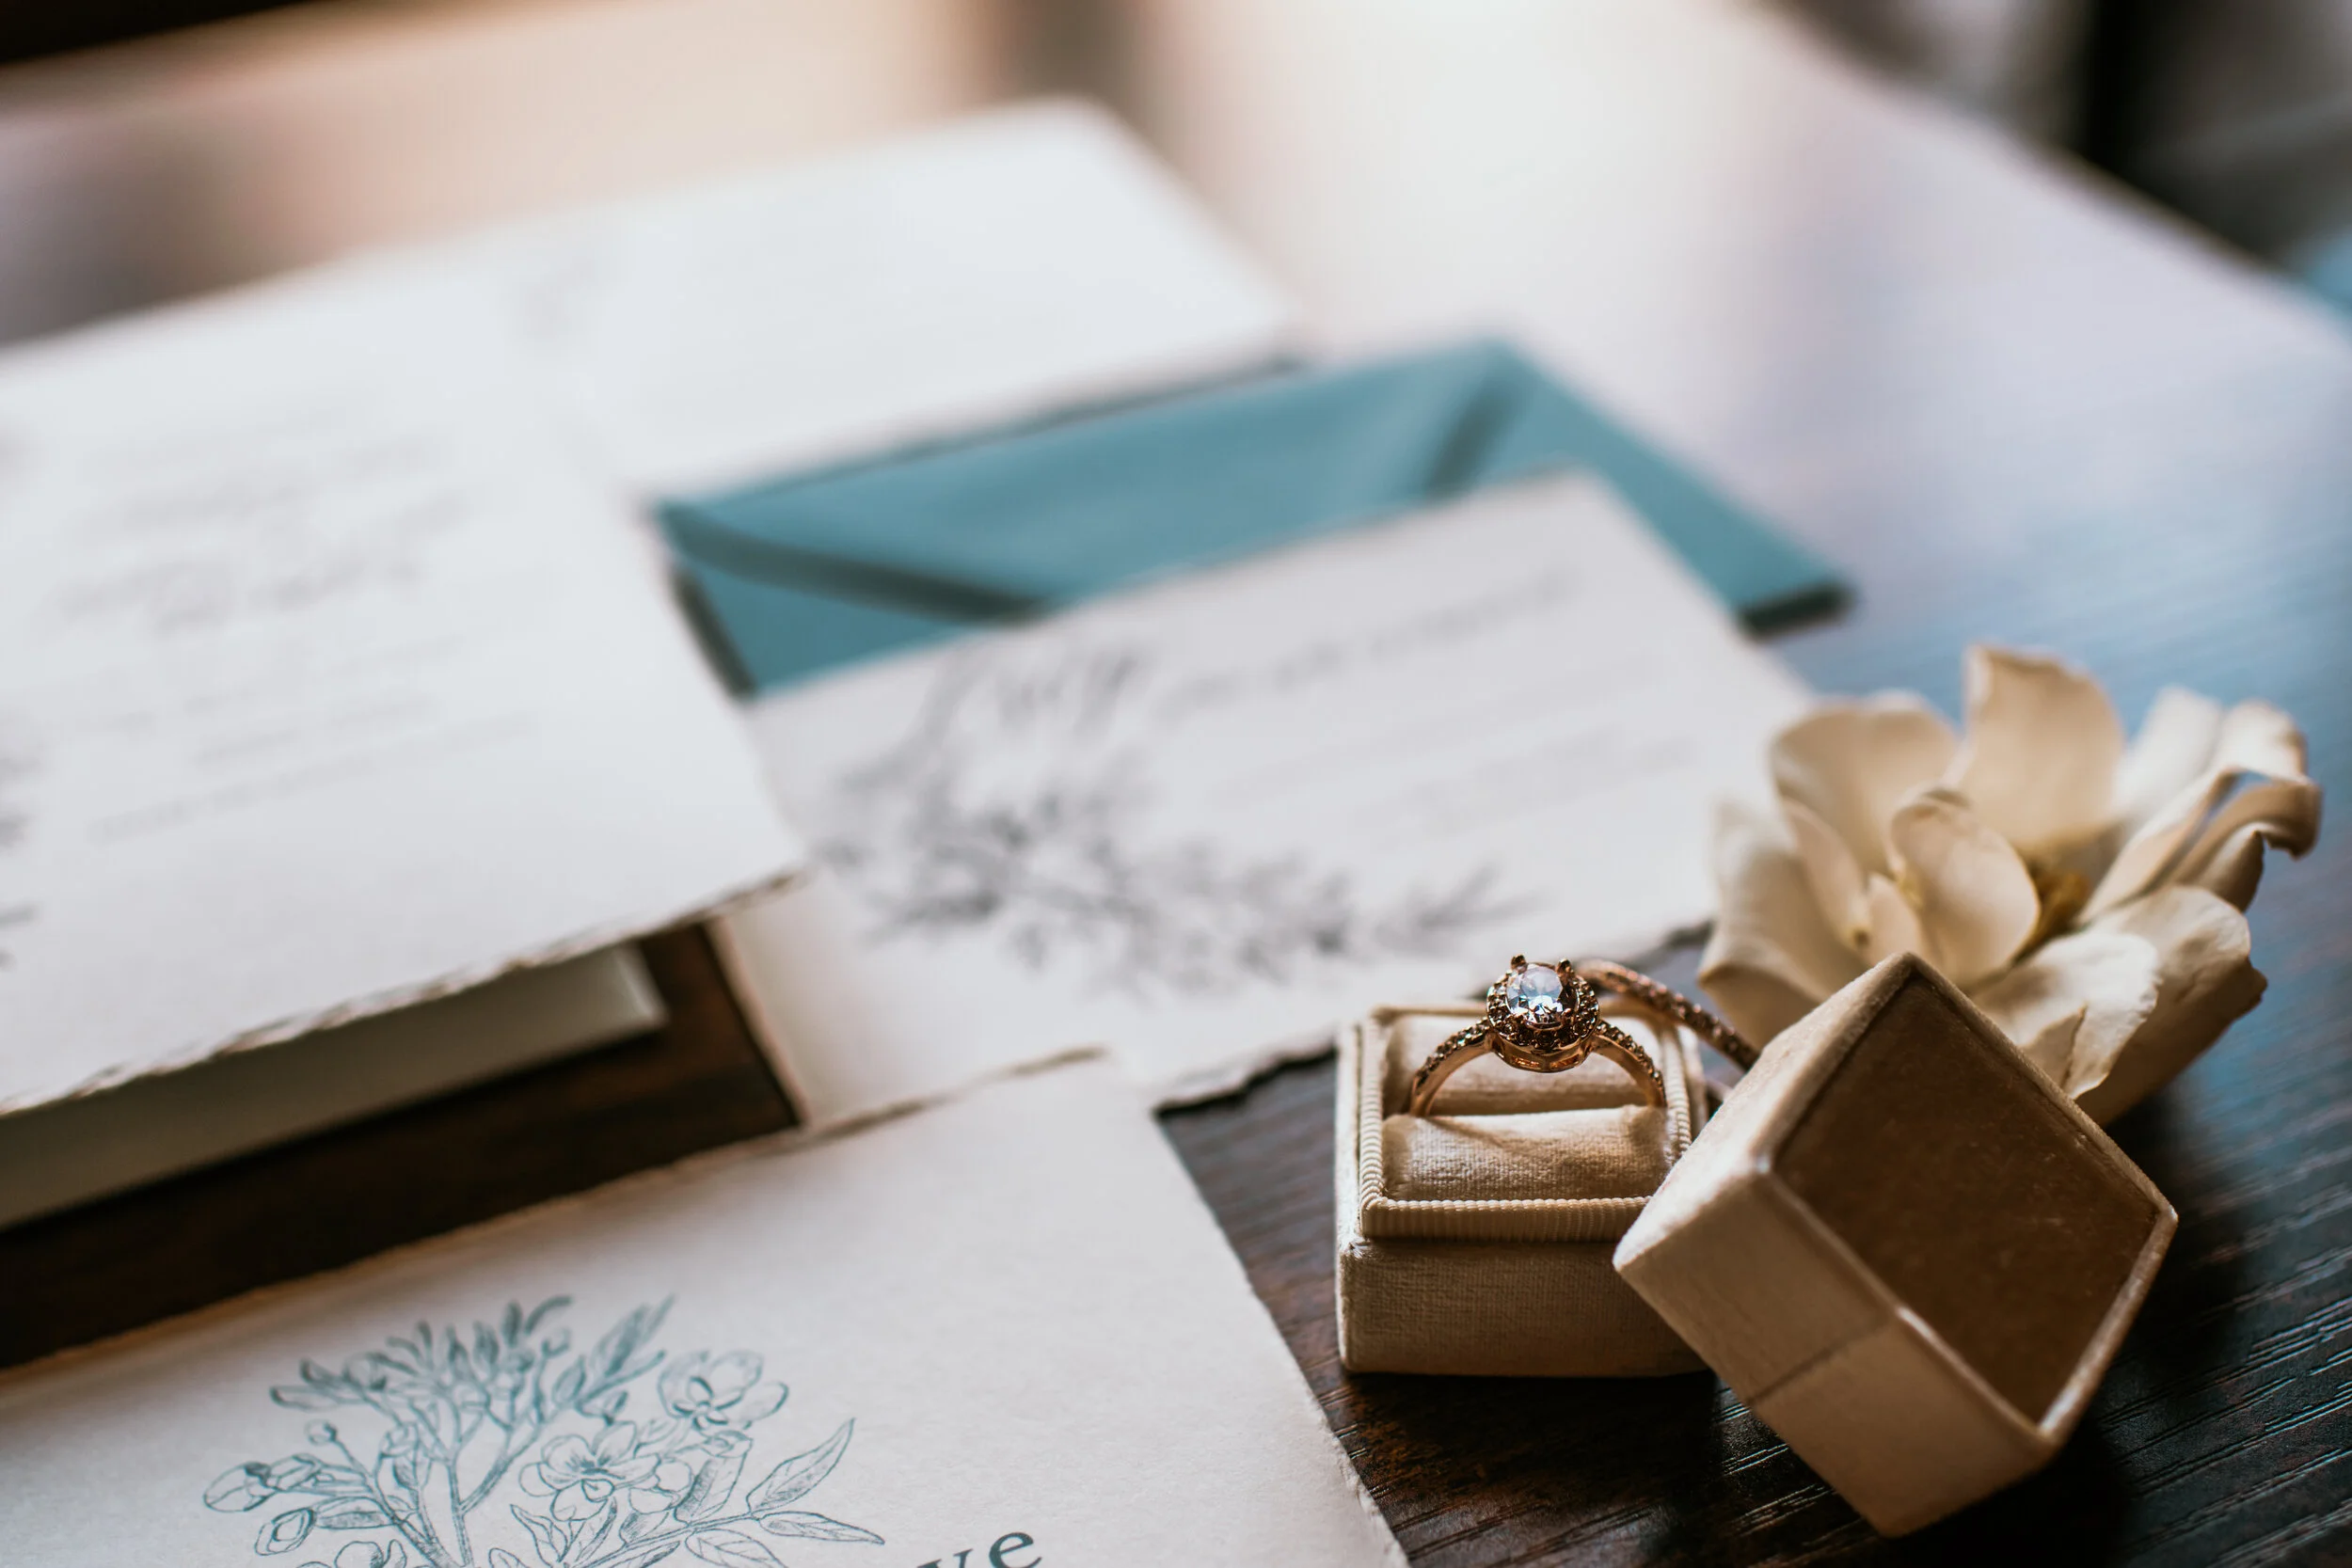
Paper goods set the stage for your guests to understand what the “feel” of your wedding will be. With this Save the Date and invitation suite I choose hand-made paper with rough, deckled edges to contrast the timeless feel of the typography and hand-drawn botanicals.

By using two colors for the invitations, black and cornflower blue, the traditional elegance of a black-tie wedding is conveyed without sacrificing the laid-back vibes of the bohemian decor that the bride and groom have throughout their day.

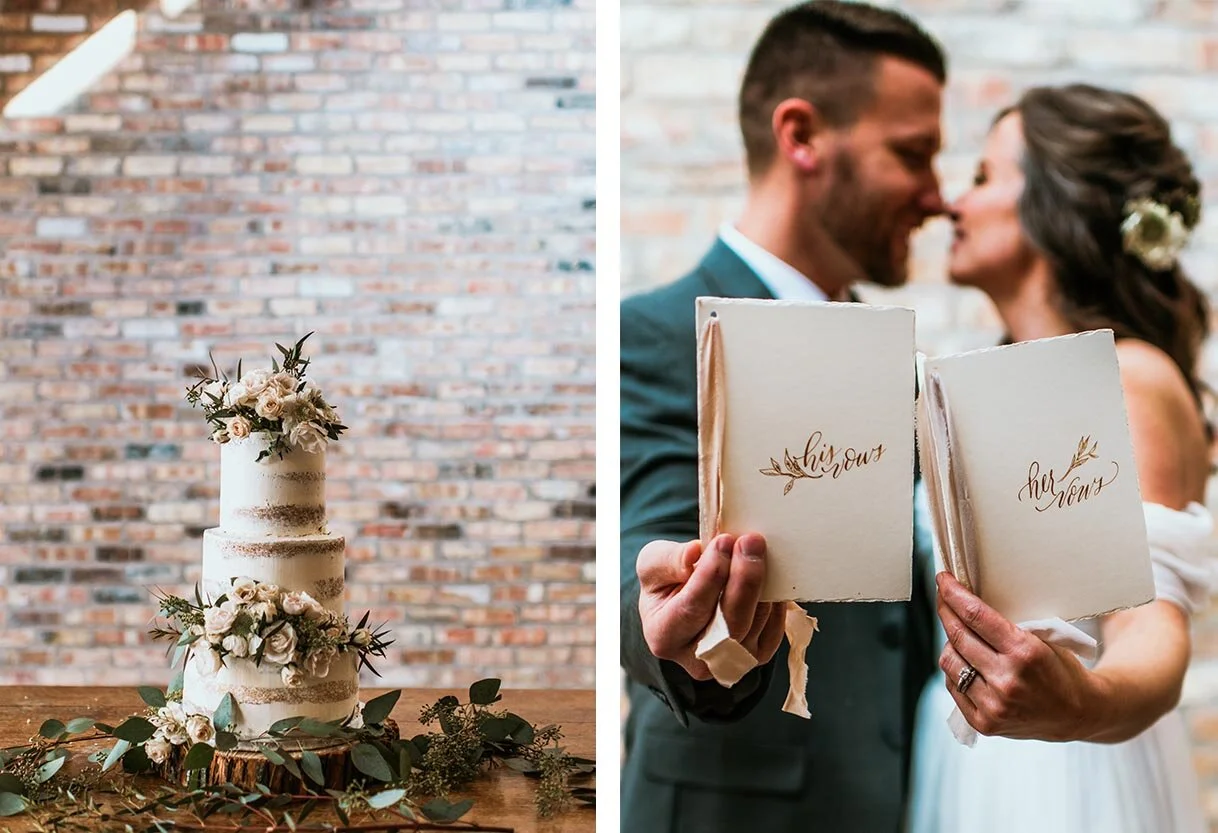
Hand-done details, such as the vow books and the accent mirror, lend the bohemian elegance to this unconventional space in just the right touches without feeling out of place.

LinaluluPaperie_Chicago_TeresaWilliams_StyledShoot_03.jpg
LinaluluPaperie_Chicago_TeresaWilliams_StyledShoot_02.jpg

One of my favorite extra items for this wedding was this mirror! The unconventional shape next to the cake adds dimension and unexpected whimsy to the sweets table. I used the lyrics from Andrew McMahon in the Wilderness to add that extra touch of romance and sentimental flair (not that this beautiful couple needed it in the slightest - they’re so sweet together!).

Portfolio: Elegant and Simple,Calligraphy Wedding Invites

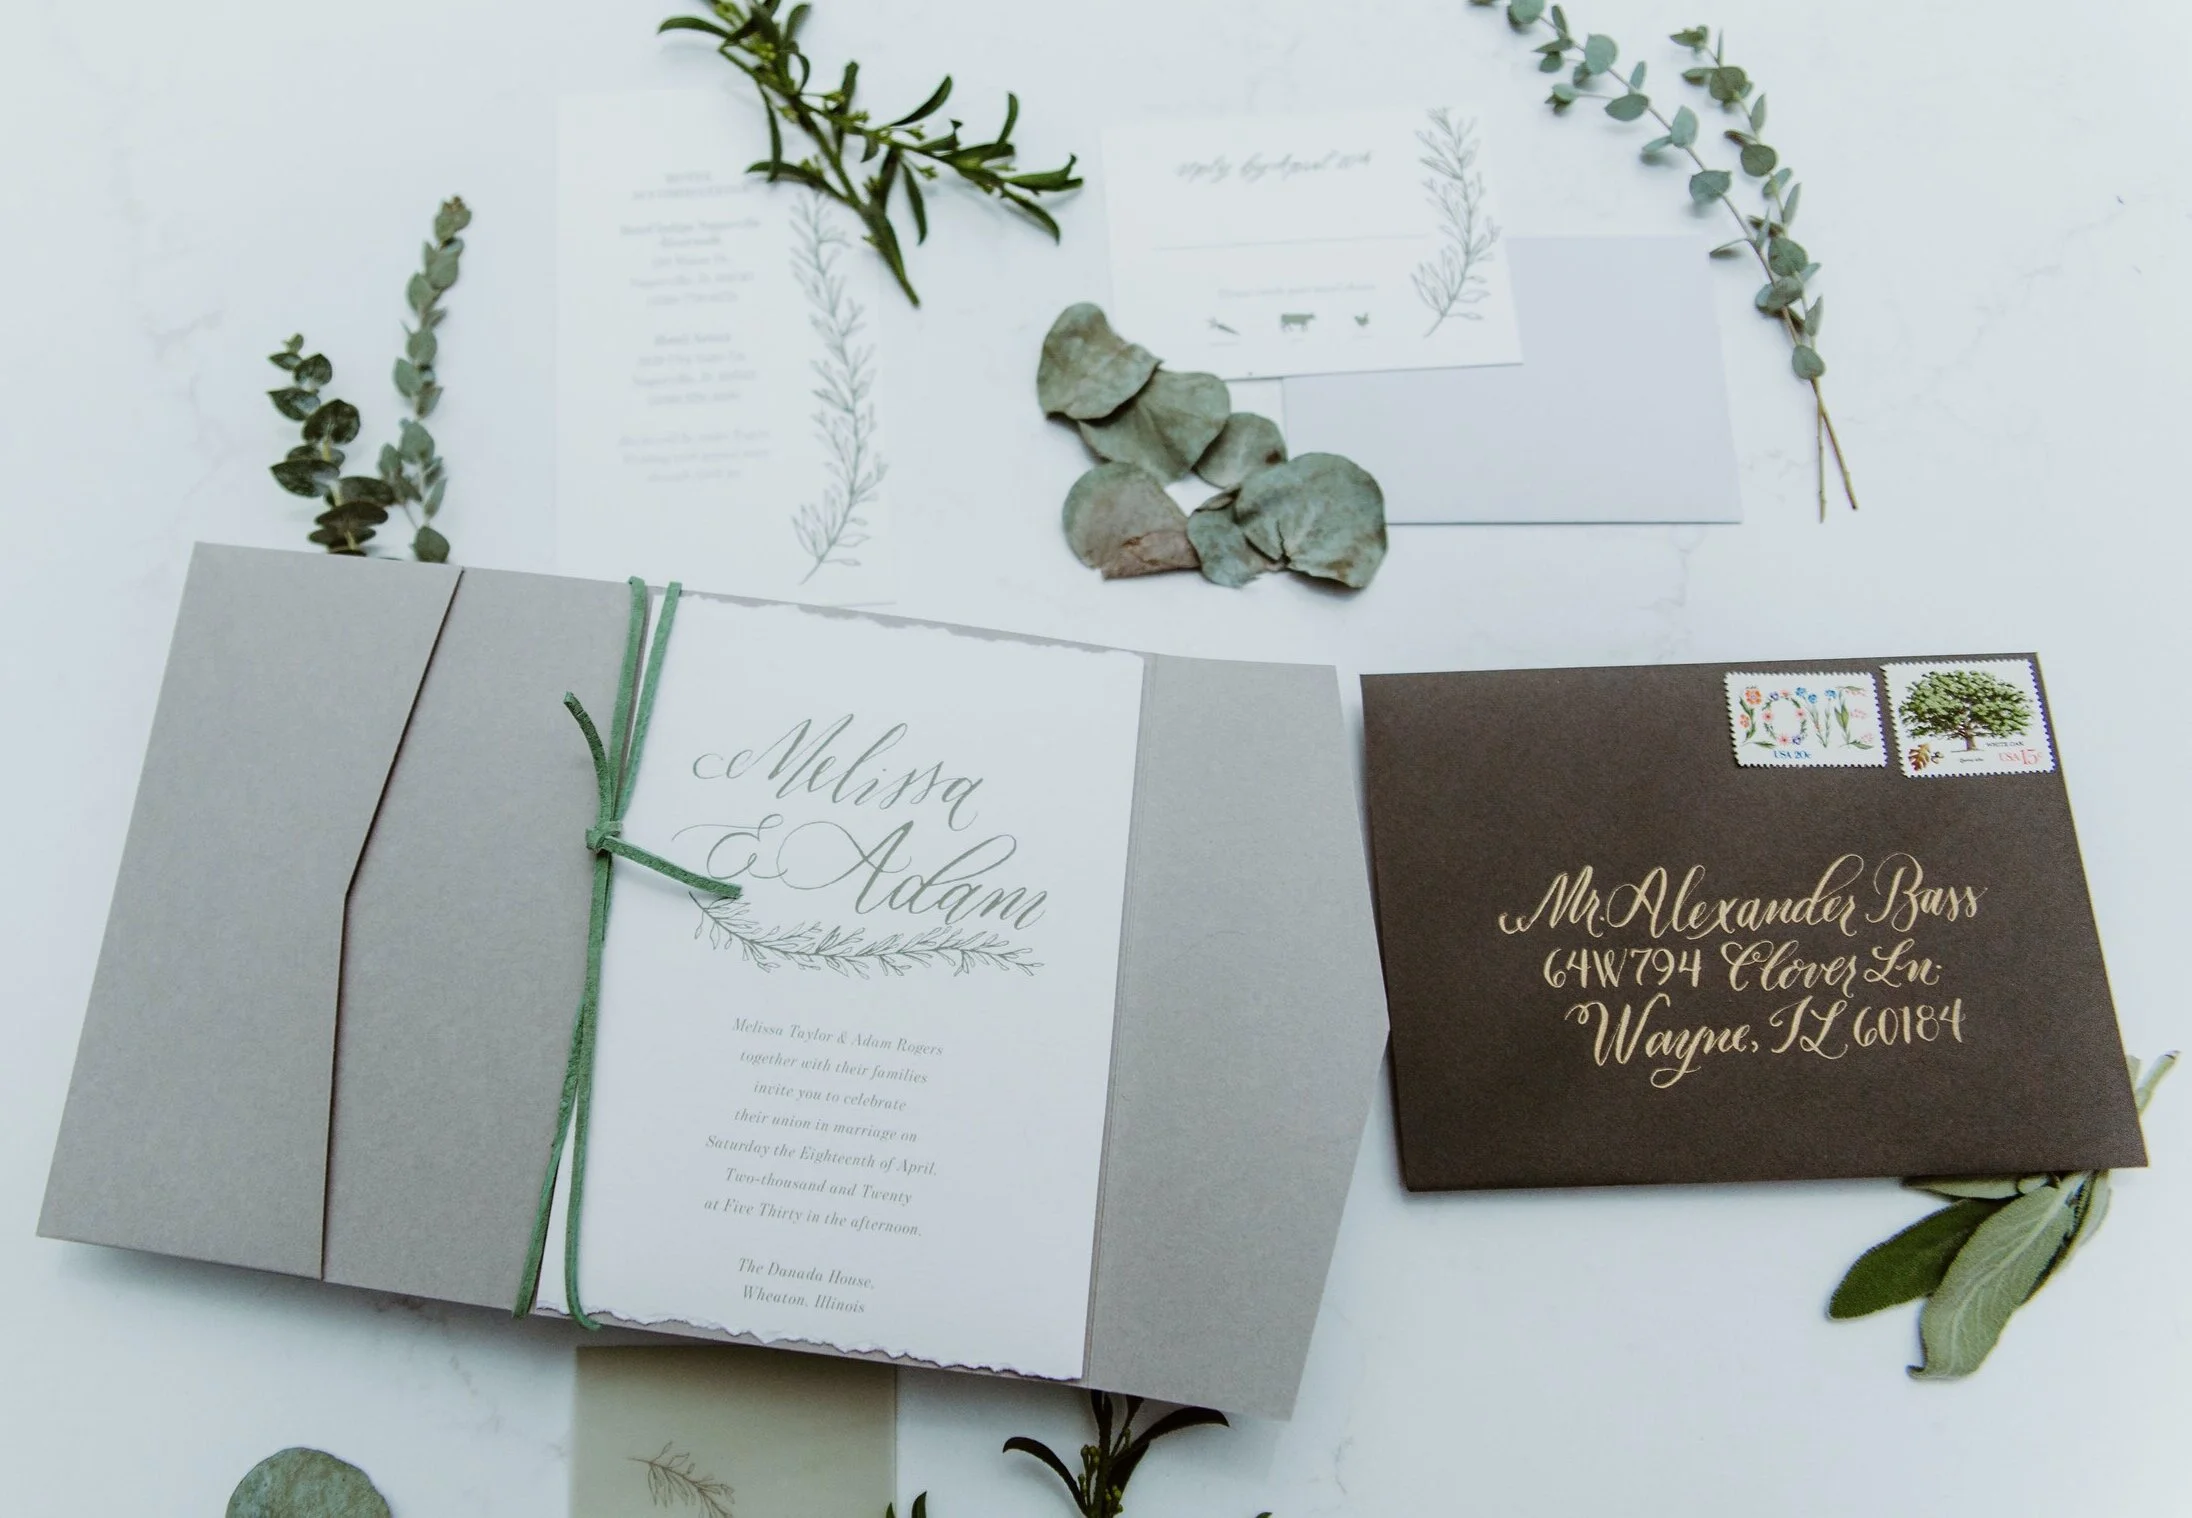
These elegant invites convey so much in their simple design. I loved incorporating so many beautiful elements including the natural, deckled edged paper; antique gold calligraphy on the dark grey envelopes; and the illustrated, vine that is included on all three informational pieces for this complete invitation suite.

LinaluluPaperie_Elegant_WeddingInvites

The relaxed calligraphy emphasizing the couple’s names on the invite creates a modern monogram of sorts, as well as adds a touch of sophistication to the already subdue but timeless color palette. Using the pocket folder allows all the pieces to mail easily while adding an extra and dynamic to the opening experience for the guest.

LinaLuluPaperie_Dari_Styled_Invites_03.jpg
LinaLuluPaperie_Dari_Styled_Invites.jpg

Styled Shoot: Romantic, Gold and Green Brunch

I loved getting to be apart of this wedding brunch styled shoot with so many beautiful additions dreamt up by the Elisabeth Dari and her team! The gold, cream, and green accents are the perfect engagement or bridal brunch accents to warm up the colder, dreary months of winter. Check out the magic below.

LinaLuluPaperie_StyledShoot_DariEngagement_07.jpg
LinaLuluPaperie_Dari_StyledEnagementShoot.jpg

For the invitations, I went with a modern shop square accented with arch typographic details. The colors in the watercolor strokes and the touch of spot calligraphy added that bohemian feel.

Adding to the theme of mixed metals and greenery, I choose a gold envelope liner with gold calligraphy on the mailing envelope to off set the bronze and dark gun-metal gray on the invite.

LinaLuluPaperie_StyledShoot_DariEngagement_05.jpg
LinaLuluPaperie_StyledShoot_DariEngagement_04.jpg
LinaLuluPaperie_Dari_StyledShoot_Table.jpg

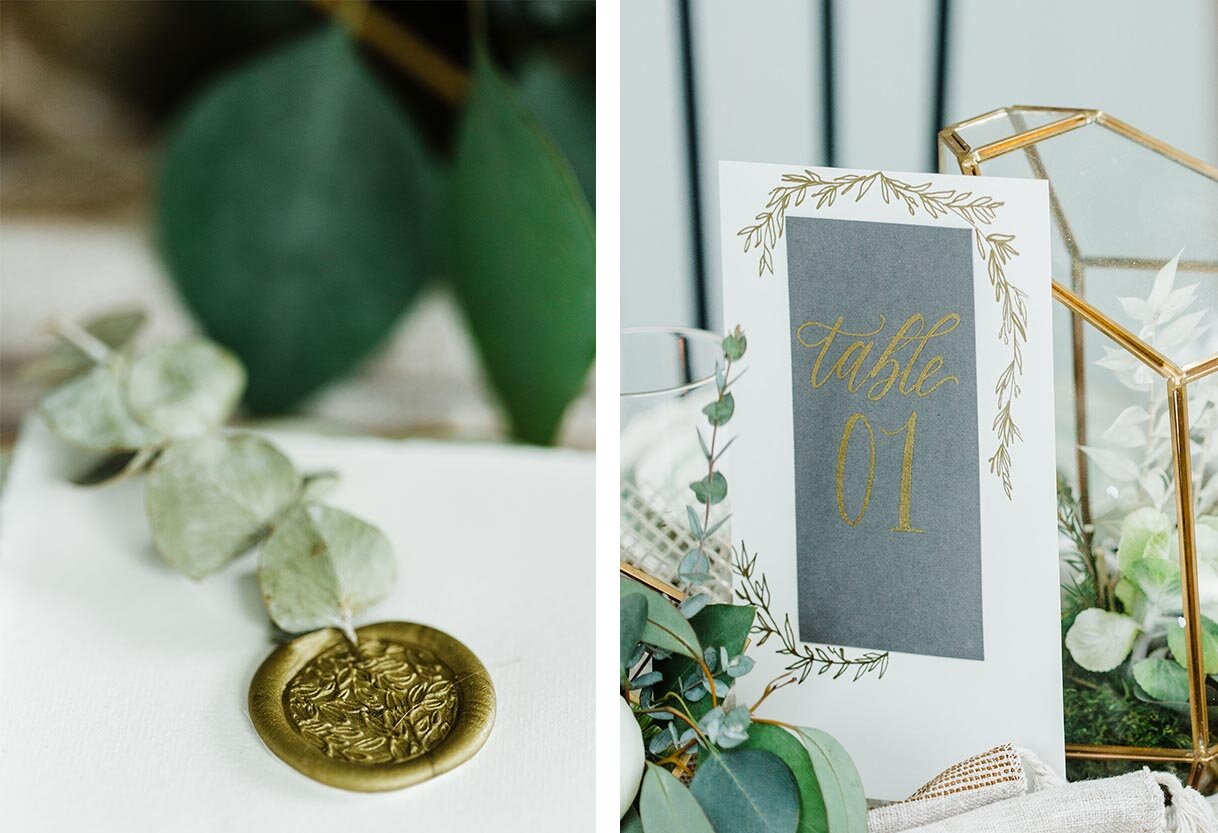
Adding these watercolor sayings to individual place settings, each with a different poem, lyric or phrase added that touch of intimacy to the table that a smaller gathering allows. Topping them off with eucalyptus and a gold wax seal added texture to this already beautiful tablescape.

LinaLuluPaperie_StyledShoot_DariEngagement_03.jpg
LinaLuluPaperie_Dari_StyledShoot_2020.jpg

Photos by Bozenavoytko Photography | Planner: Elisabeth Dari | Flowers: Stemming From Love

Styled Shoot: Company 251

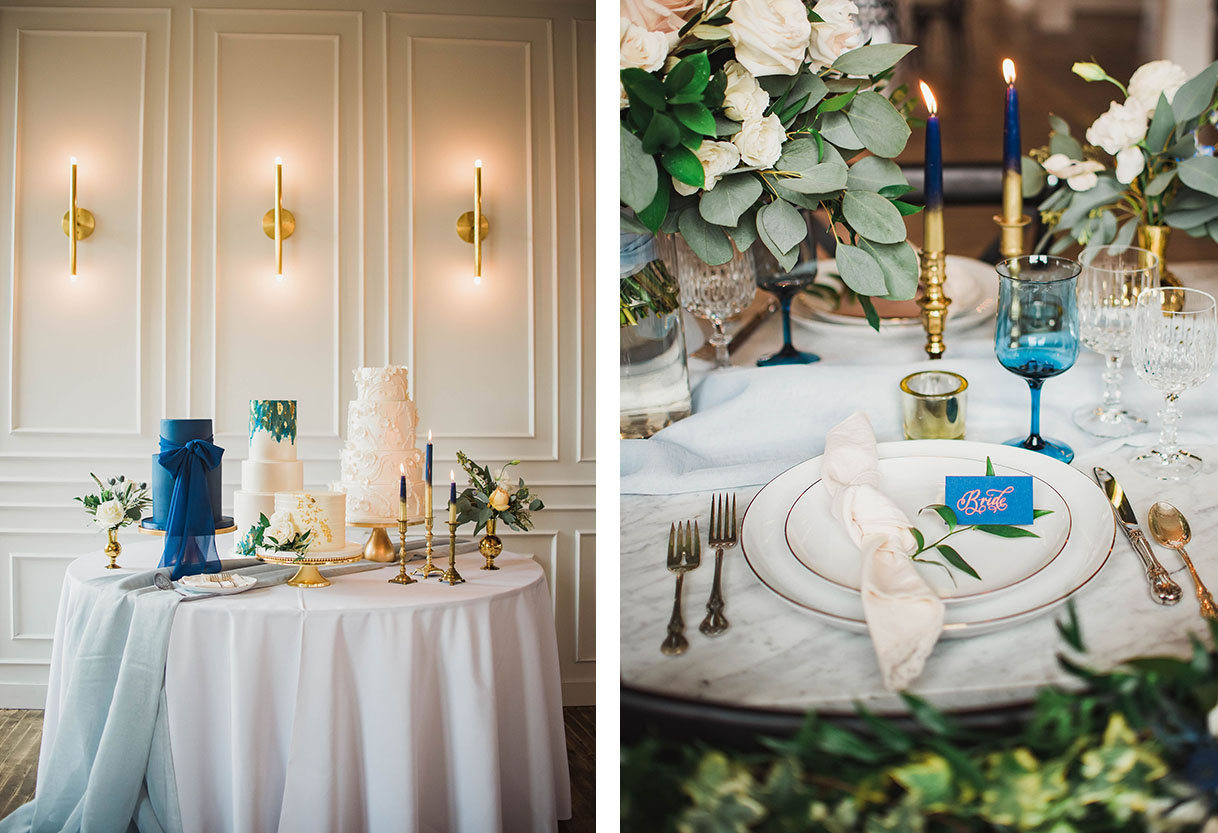
When I was invited to a styled shoot by the talented Elisabeth Dari at Company 251 I couldn’t say “yes!” quick enough! This venue has been on my list since it opened. The natural elements of the building combined with gorgeous mixed metals, tiles and modern, minimalistic design aesthetic is the perfect canvas for all styles of weddings. Elisabeth drew inspiration from the history of the location, combined with an organic and romantic vibe—and wow—it is just too dreamy beyond words!

DSC_5066.jpg
DSC_5074.jpg

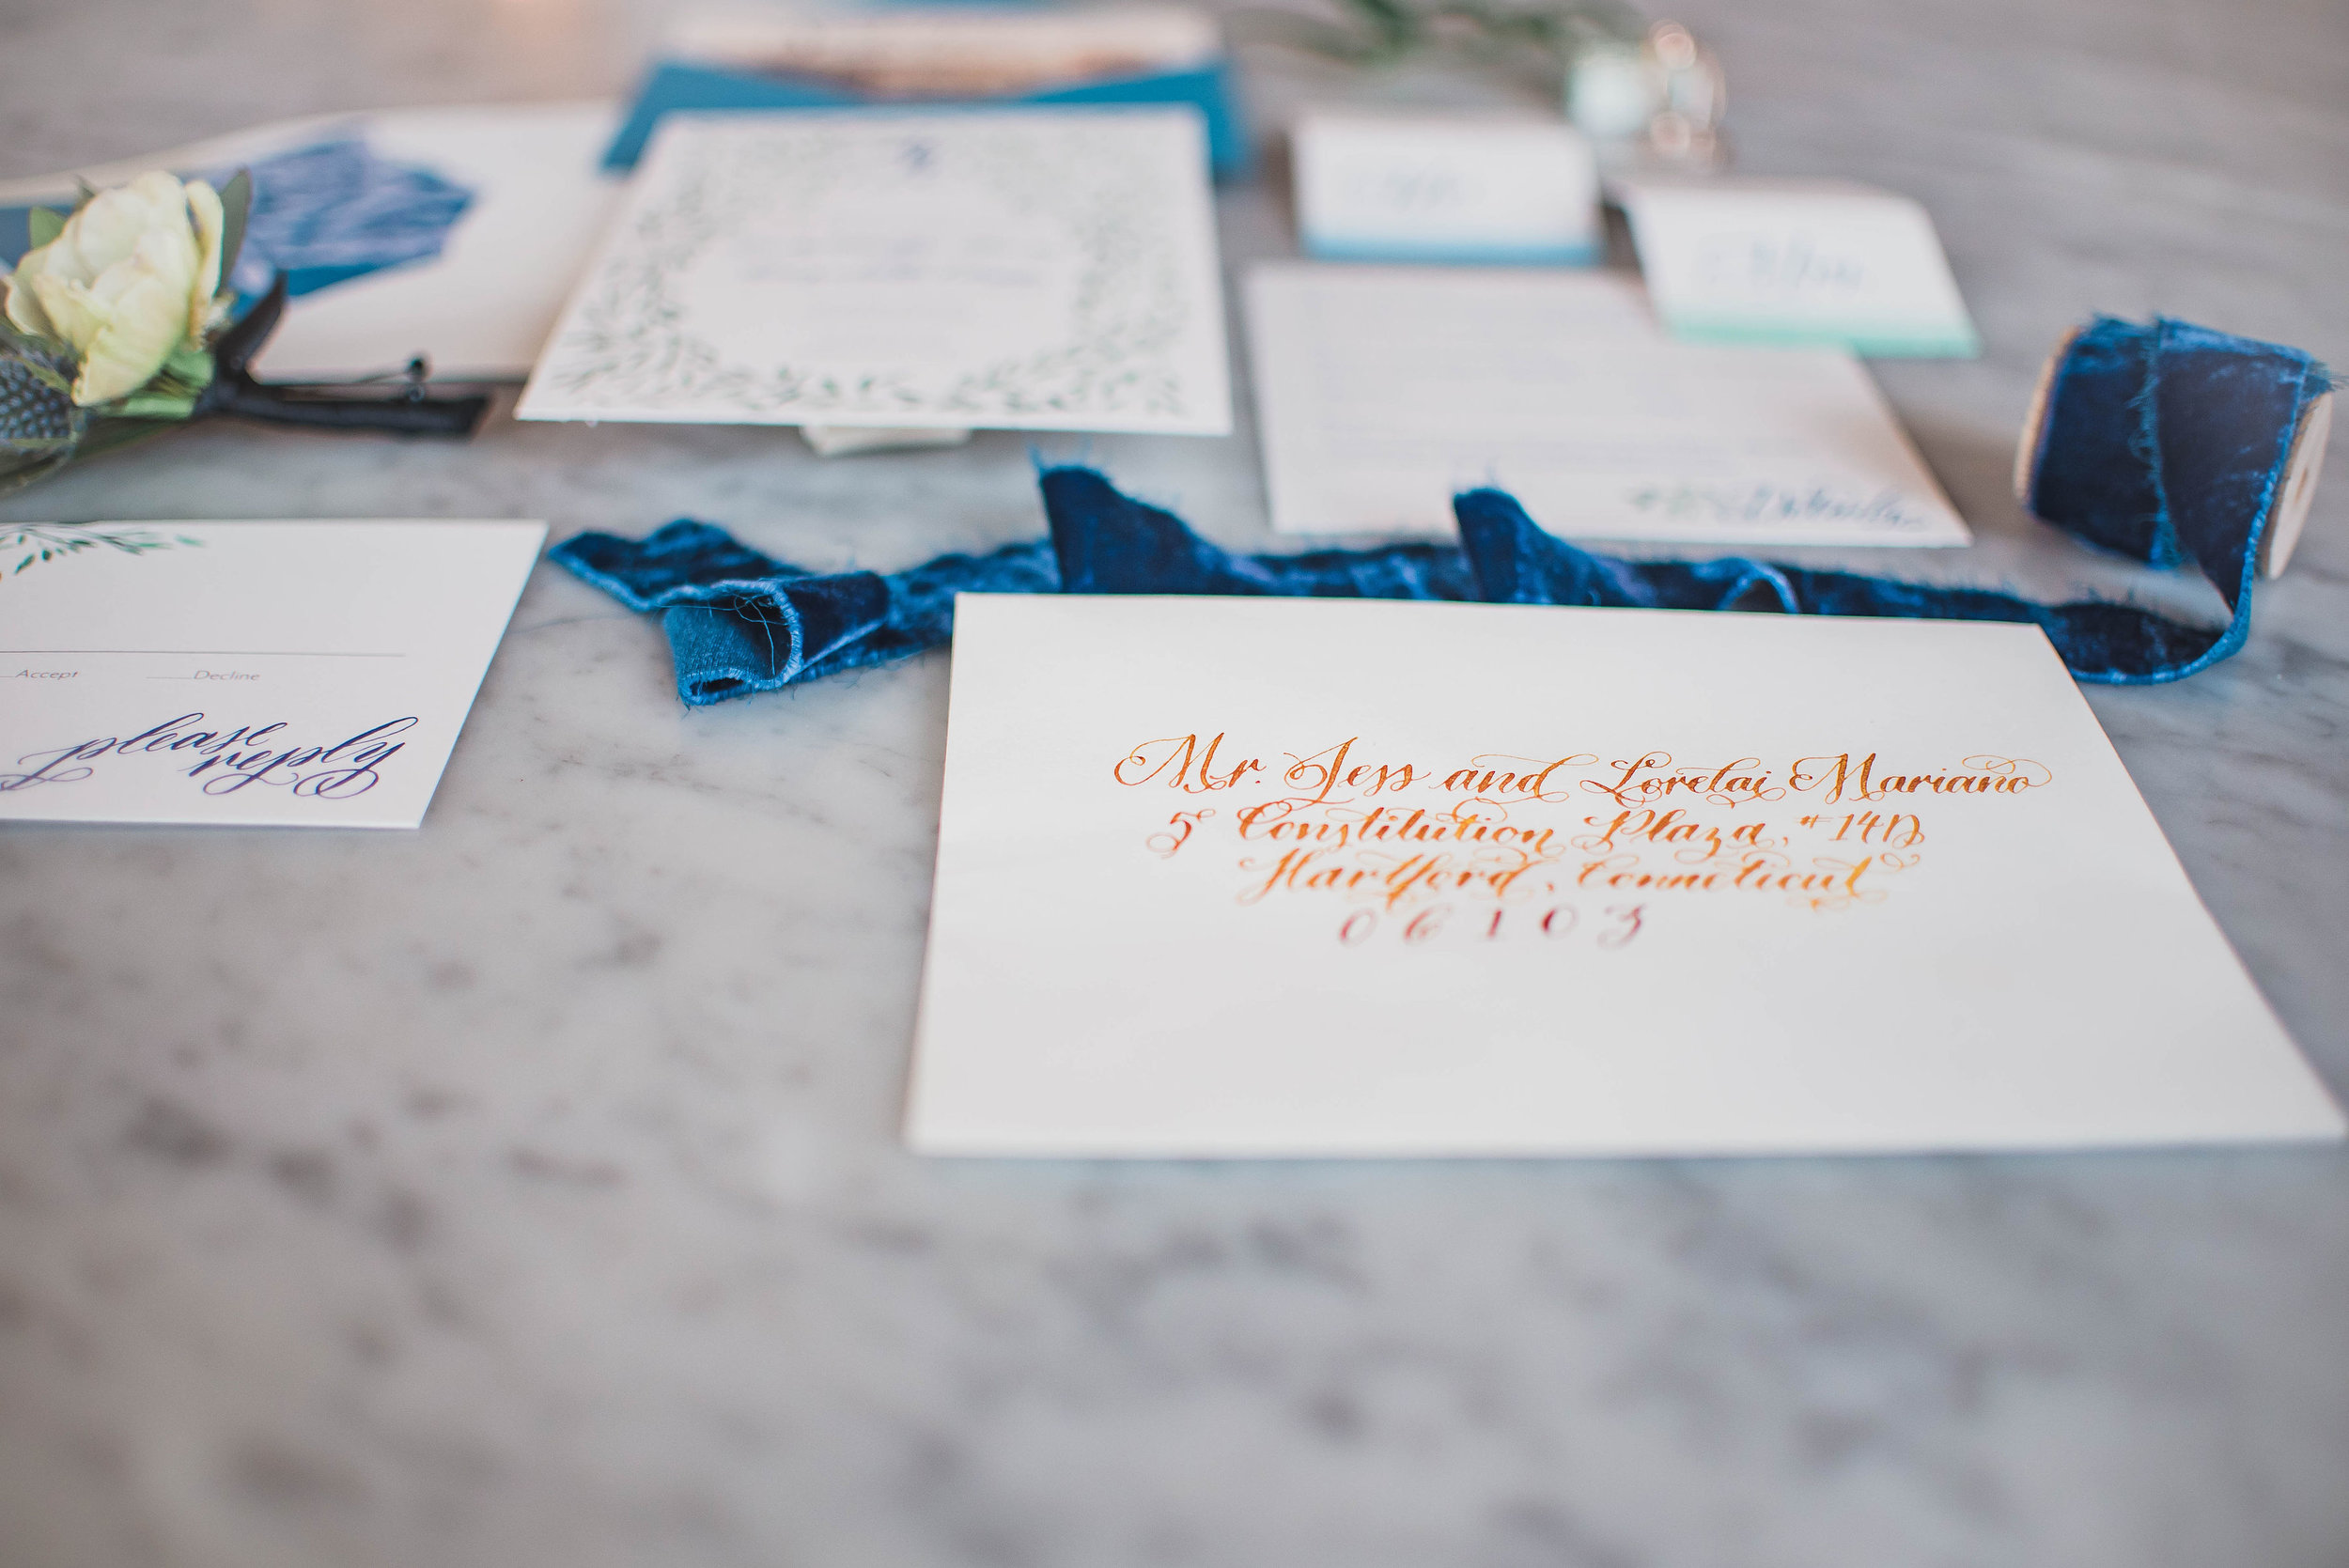
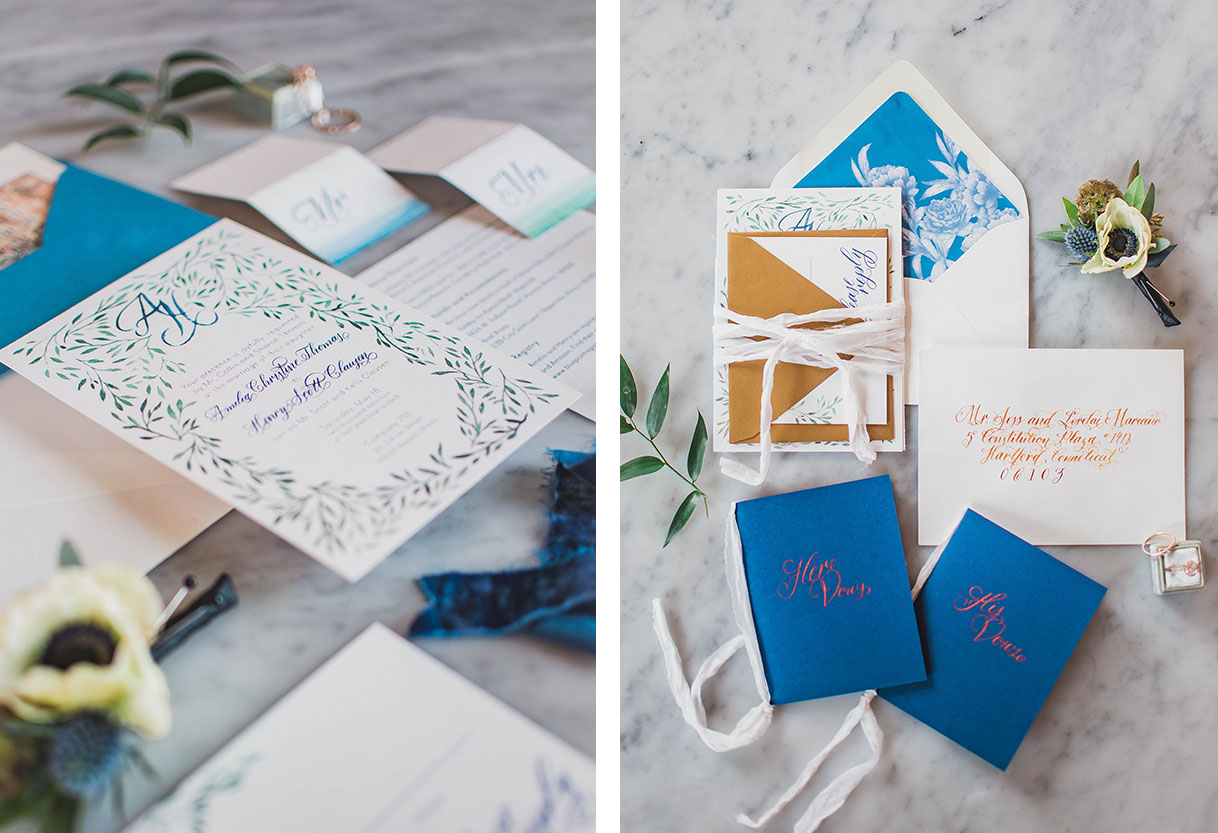
I created a custom invitation suite featuring lush, watercolor greenery flowing through out all the pieces and soft hints of the cobalt blue color that would be present in the cake, flowers and table decor. I love how my Rose calligraphy through out the suite create the romantic feel even before stepping into the gorgeous venue! I reflected the mixed metals elements of the space in the invites through an antique gold RSVP envelope and by using metallic ink on the mailing address.

StyledShoot_Compnay251_01.jpg

My favorite piece of the entire look had to be the custom watercolor Save the Date of the building itself! I loved creating this gorgeous and unique vintage postcard that could be used as a keepsake for the couple.

StyledShoot_Compnay251_02.jpg
DSC_5554.jpg
DSC_5714.jpg
StyledShoot_Compnay251_04.jpg
StyledShoot_Compnay251_03.jpg

Vendors, Artists, Producers

Venue | @company251

Design and Styling| @elisabethdari

Photography |@ev_photography

Cinematography | @kevinwagan

Floral |@stemmingfromlove @stevesflowermarket

Paper goods | @linalulupaperie

Catering | @flourishjuiceco

Bakery | @eyecandybakeshop

Bridal Boutique | @brizancouture

Artistry | @bsansostiartistry

All in the Details

Table Runner | @fabricwholesaledirect

Table Napkins, Flatware, Ring Box | #vintage Crystal Goblets, Mocktail Coupe | #vintage

Water Goblets | @lenoxusa #vintage Dinnerware | @westelm @westelmchicago

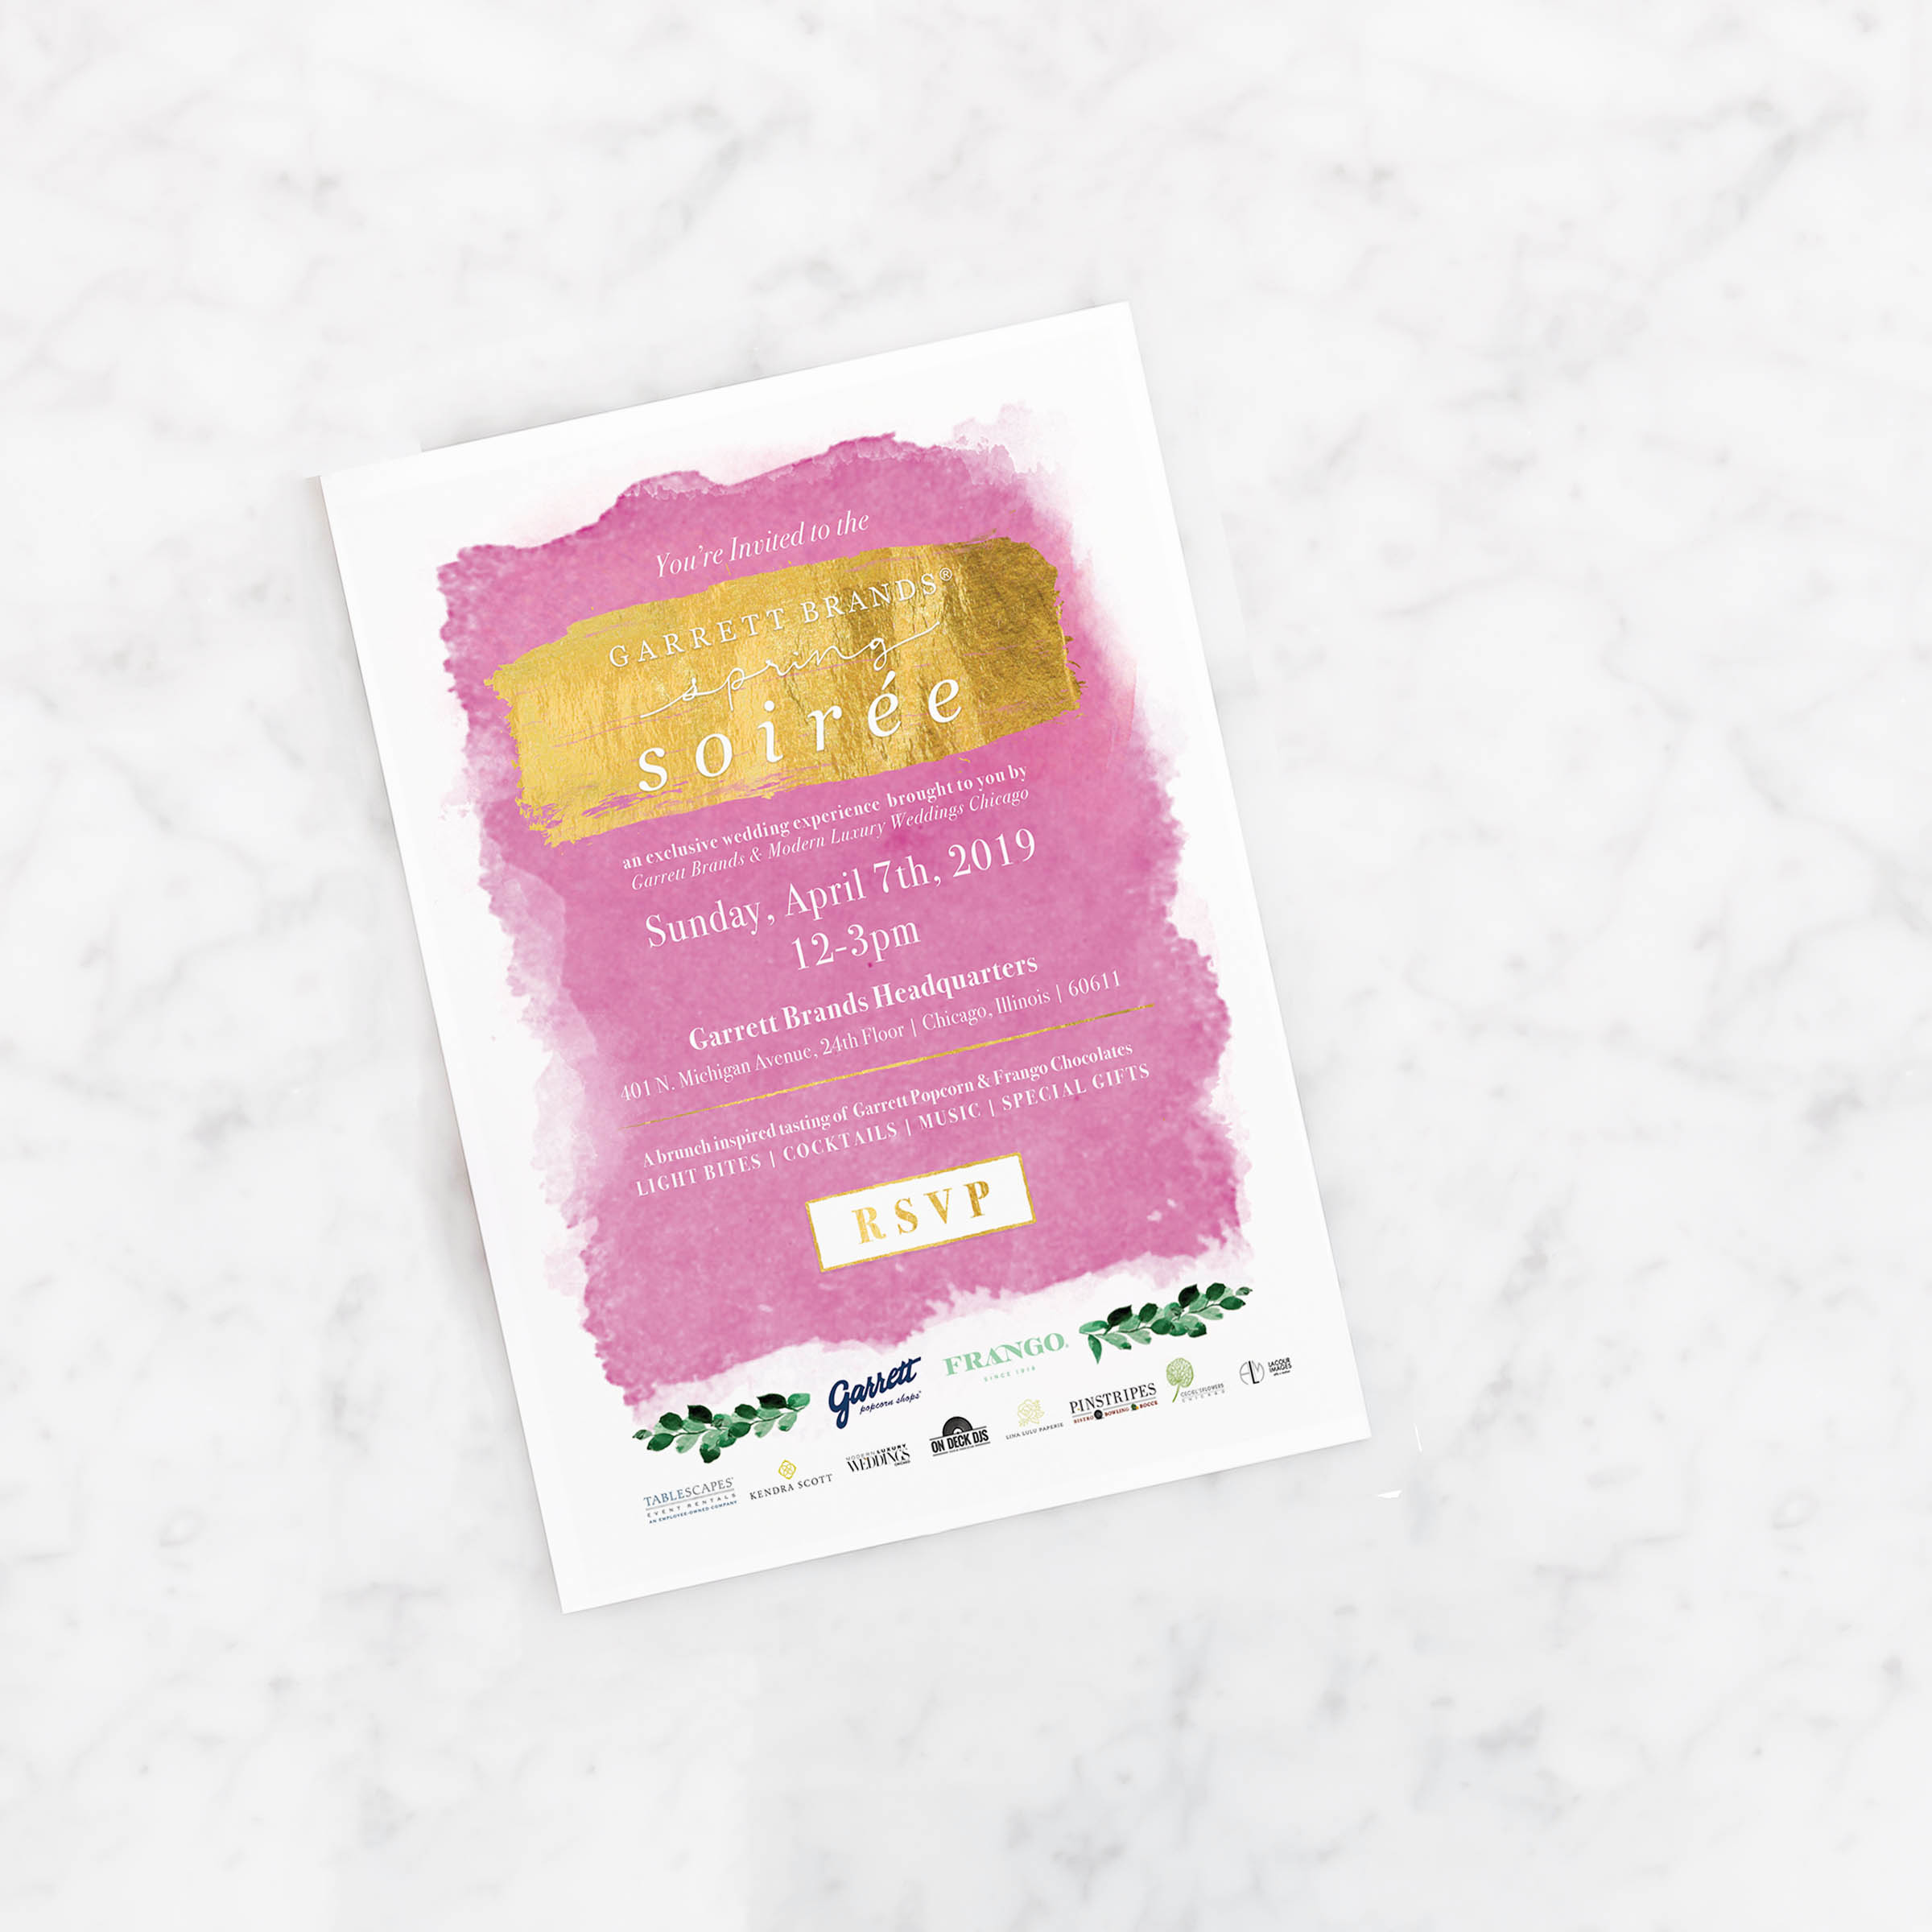
Garrett Spring Soirée: April 2019

I was invited by sales manager, Sarah Ruth, to participate in this years Garrett Spring Soirée, a brunch event exclusivley for brides in the Chicago area! A timeless snack synonymous with Chicago itself, Garret Popcorn and Frango brands have so many delicious varieties of goodies that would be a great addition to both bridal and wedding events! I was so excited to get a chance to create one of a kind, calligraphy favors on their min tins.

Invitation_marble_Mockup.jpg
2019-04-07 10.43.13.jpg

Set-up in their corporate office, this fun event include the incredible brands Kendra Scott, Cecil’s Flowers, Tablescape Lines, DJ, and Roanoke restaurant, Pinestripes catering, and more. I had a great time meeting so many great couples and friends in the industry. With small displays of what the brand could offer from table mints to popcorn bars for your guests to make your mix. My favorite was their pairing bar of popcorn, chocolate and drinks —how fun!

2019-04-07 10.53.47.jpg
2019-04-07 11.02.24.jpg
2019-04-07 14.10.59.jpg
2019-04-07 14.09.12.jpg

Styled Shoot: Vintage Tuscany at Galleria Marchetti

I am thrilled to have been apart of this gorgeous, inspired shoot !Designed by the talented and kind  Lillian Rose Events, the tuscan elements combined with charm and elegant details of Galleria Marchetti created for a romantic, old world feeling wedding here in the Midwest! All photos by Jasko Omerovic Photography. For all vendor involved check the list below!

StyledShootMarchetti(149of333).jpg

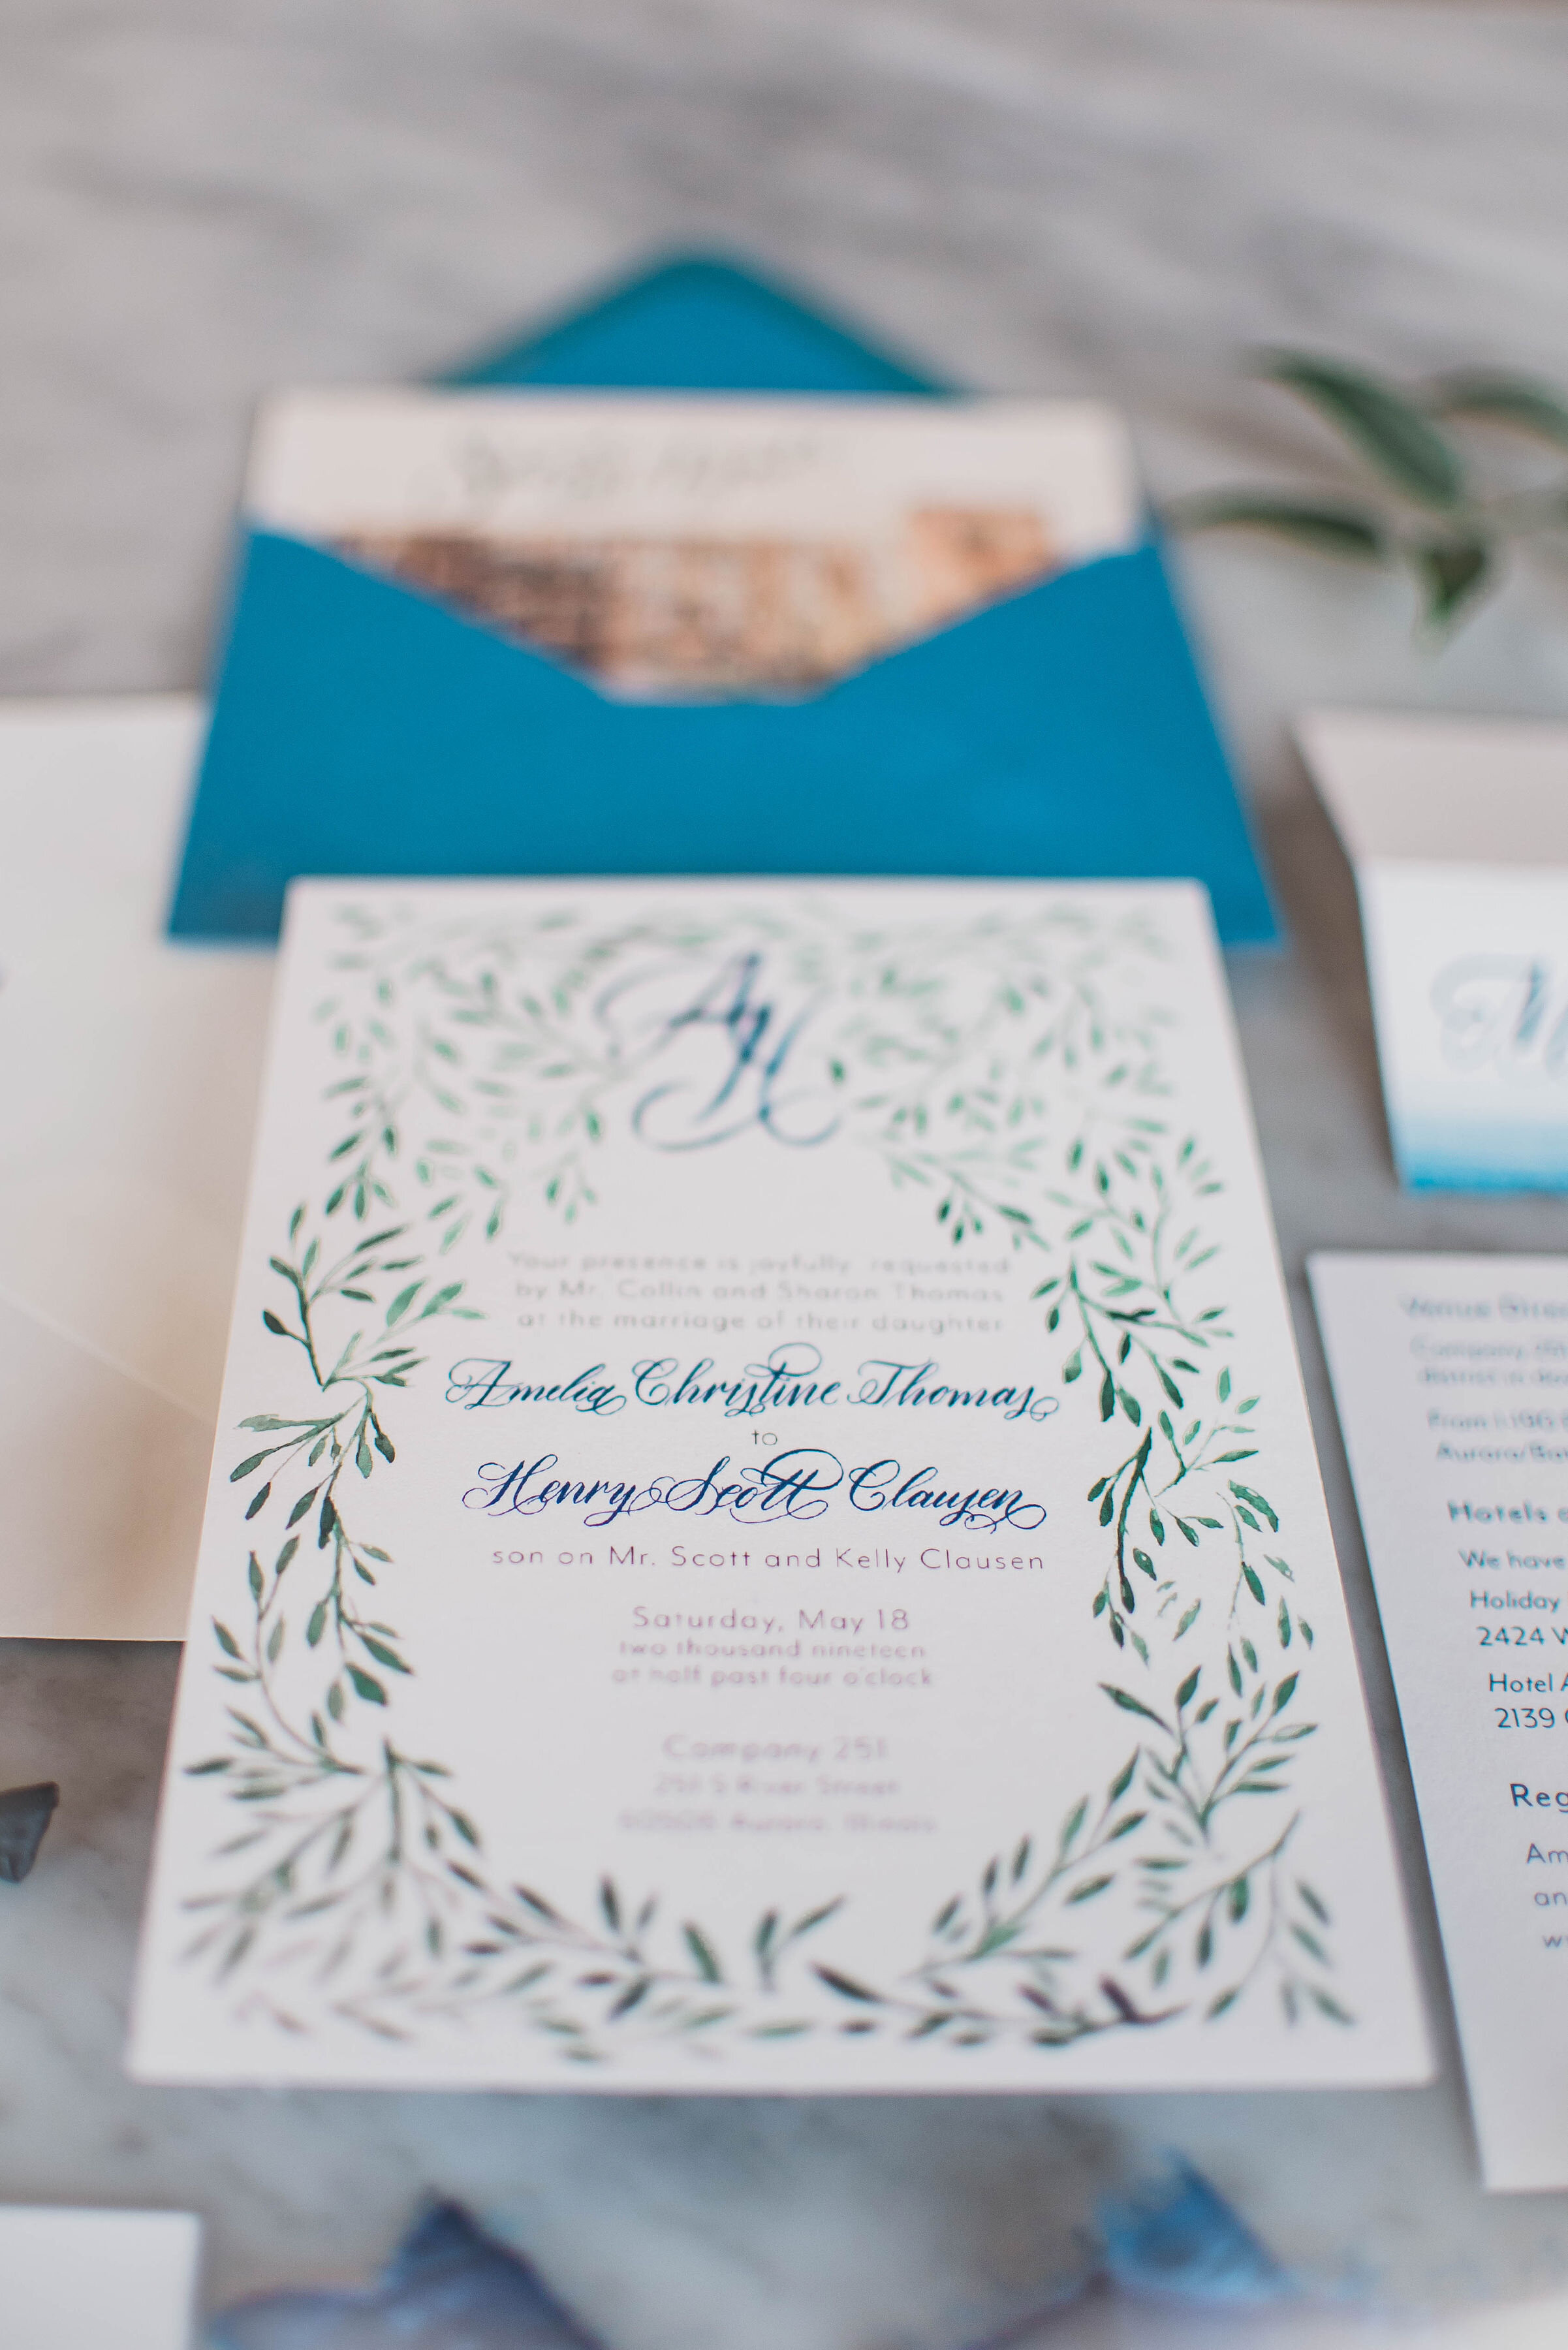
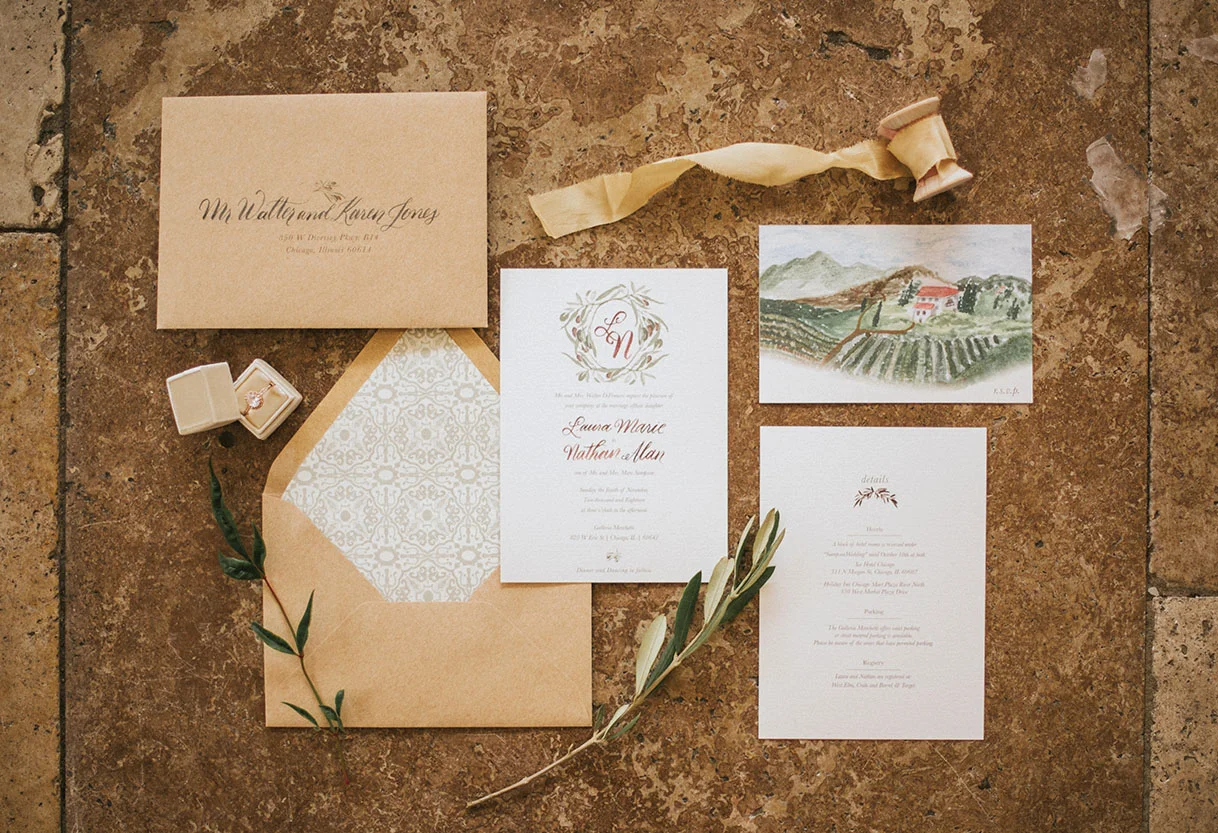
Inspired by the romantic fields and wineries of Italy, I chose to work with earth tones and simplistic elements. A custom monogram surrounded by olives adorned the main invitation (swoon!). The olives leaves are carried though out the rest of the wedding paper goods from the details card all the way to the wax seal bringing texture the the table menus.

My favorite two elements from the invitation suite quickly became the Italian tile inspired envelope liner and the lush, custom painted country side RSVP postcard. Both elements bring in more color to an other wise soft and romantic feeling invitation.

StyledShootMarchetti_06.jpg
StyledShootMarchetti(278of333).jpg
StyledShootMarchetti_03.jpg
StyledShootMarchetti(152of333).jpg
StyledShootMarchetti_01.jpg

Each paper element, though slightly varied from one another, are all connected through the calligraphy. I used my Lily style to bring a romantic but modern movement to each element. Choosing a soft grey ink allowed each paper good to feel rustic and compliment the gorgeous tones of the vintage dishes, beautiful table linens and gorgeous muted toned florals.

StyledShootMarchetti_02.jpg
StyledShootMarchetti_04.jpg

To find more of this stunning shoot and a gorgeous video capturing the experience, check out the post from Chicago Style Weddings

Find the incredible and talented vendors here:

Venue: Galleria MarchettiPhotographer: Jasko Omerovic PhotographyVideography: Newlyweds CinemaEvent Planner: Lillian Rose EventsFloral: Phillips FlowersDécor & Rentals: Dish & Decor Vintage RentalsHair & Makeup: Meghana PrasadStationery: Lina Lulu PaperieLinens: BBJ LinenBride’s Gown: Edith Élan via Dame CoutureBride’s Shoes: James CiccottiBride’s Accessories: Davie & ChioTi Adoro JewelryJennifer Leigh Veil Design Formalwear: The Groomsman SuitModels: Naftali Kark & Stephanie Straka

The Big Fake Wedding: Chicago 2018

When I heard about the Big Fake Wedding, I immediately thought about when I was a bride planning for my own big day. Being younger in age as a newly engaged bride-to-be, I hadn't attended many weddings with the mindset of what I liked about them and if I would repeat anything for my own day.

The concept of the Big Fake Wedding is so simple and smart. They come to a city, gathering talented local vendors and “create an experiential opportunity for wedding vendors to showcase their products and services to shopping brides and grooms just as they would at a real wedding.” You get to see the wedding in the form of a vow renewal ceremony and the reception complete with drinks, DJ and dancing. The best part s if you like something you see, taste or hear you can talk to the vendors who created it right then and there! How cool is that?

Each city is a different theme and experience for the couples attending, and Chicago did not disappoint. With the theme of “World Royalty” and pulling from beautiful, rich tones—there was so much inspiration to play with! Check out how the day pulled together over all:

unnamed.png

The venue was the beautiful Zhou B Art Center owned and founded by two Chinese brothers, both incredible artist who rent out the space for art exhibits and events. This industrial and chic venue was full of charm and some seriously beautiful art.

Elizabeth Greve Photography

Elizabeth Greve Photography

Elizabeth Greve Photography

Elizabeth Greve Photography

My role in this big day was one of two invitation designers. With such a rich color scheme and moodboard full of pattern and texture to work from, I knew that I wanted to do something more elevated than a standard invite to incorporate these elements. After deciding on this beautiful paper cut folder in a rich gold to house the invitation suite, I wanted to incorporate each color in a unique way on the rest of the accenting pieces.

Blending the free strokes of the watercolor with the formality of the calligraphy created the perfect mixture of classic and modern that would be represented in both the venue and the elements of the wedding day overall. I loved how this suite represented the theme in a chic way!

Elizabeth Greve Photography

Elizabeth Greve Photography

Thais Photography

Thais Photography

The day flowed like a real wedding, complete with photos of the “bridal” party, ceremony and reception. The bride and groom who modeled for the day performed a vow renewal during the ceremony portion including their pastor, real friends and family in their “bridal” party.

It was a beautiful ceremony complete with string quartet playing a custom arrangement as the bridal party walked down the aisle and an incredible copper arch with lush florals serving as the backdrop for the bride and groom’s ceremony. The reception was full and fun with fantastic appetizers, desserts and specialty mixed drinks. The bride even performed a special choreographed dance mid reception!

Thank you again to the team at The Big Fake Wedding for having me, it was such a fun party to be apart of and incredible to meet so many wonderful couples!

Thais Photography

Thais Photography

Elizabeth Greve Photography

Elizabeth Greve Photography

Elizabeth Greve Photography | Mila Craila

Elizabeth Greve Photography | Mila Craila

Elizabeth Greve Photography

Elizabeth Greve Photography

Cakes & Catering SOCIAL sparkling wine @socialsparklingwine

Favors & DetailsThe Standard Canvas @TheStandardCanvas

Groom & His MenBlank Label @blanklabelclothing

Bridesmaid Dresses Brideside Jewelry European Jewelry @europeanjewelryinc

Photo Booth Smilebooth@smilebooth

Cake ParfaitsVanille Pattisserie@vanillechicago

Day Of CoordinatorWedicity. DJ & EmceeCharizma Entertainment Group

Floral & Event Design: Bouquets, Boutonnieres & Tables 5,6,7 Eden

Floral & Event Design: Ceremony Backdrop & Tables 1,2 Nightshade Floral

Floral & Event Design: Flower Wall & Tables 3,4 Crafts By Stacey @craftsbystacey

Hair Styling Carrie Kacen Hair and Make-up Artistry @carriekacen

Hotel Accommodations W Hotel @wcitycenter

Invitations The Paperie Co @thepaperieco | Lina Lulu Paperie @linalulupaperie

Craft Cocktails CraftYours @craftyours

Makeup Artist Fearless & Bella @fearlessandbella

Marshmallow Favors Malvi: Marshmallow Confections @malvimallow

Catering LM Catering @lmcateringchi

Seating Chart, Custom Drawing, & Paper Goods XO Art & Design @xo_artanddesign

Dance Lessons Windy City Wedding Dance @windycityweddingdance

Photo Magnets Flash Magnets @flashmagnets

Ceremony Musician Bridge and Bow Music

Wedding Registry Mishkalo@mishkaloregistry Wedding Cake ECBG Cake Studio

Signage & Custom Jackets KRorerDecor @krorerdecor

Sparkling Water Spindrift Cookies Warm Belly Bakery @warmbellybakery

Table Accents The Blonde Scribe @theblondescribe

Travel Agent LovinAway @lovinaway

Photographers Thais Photography @bythaisphotography | Mila Craila Photography @milacrailaphotography | Elizabeth Greve Photography @egpwed

Venues Zhou B Art Center @zhoubevents

Wedding Dresses Winnie Couture @winniecouture

Wedding Films Eyework Studios


Styled Shoot: Being Joy Photography at Venue 5126

I met Joy this summer at a local wedding gathering and instantly loved her spirit and vibe. I then proceeded to fall in love with her style and gorgeous photos! She invited me to be a part of an amazing team assembled to create a gorgeous boho inspired shoot  at Venue 5126 in Oswego, Illinois. 

BeingJoy_Suite_Shoot_02.jpg
BeingJoy_Suite_Shoot.jpg
Being Joy Photography-60.jpg

Finding the right mix of modern, boho, and romantic was my aim as I created a simple but sophisticated wedding suite for this shoot. A combination of hand drawn botanicals, calligraphy and gold embossing become the perfect mix to produce a wild and tame feeling all in one.

Being Joy Photography-50.jpg

The Incredible Vendor team included: Photography, Being Joy Photography  | Venue and Props, Venue 5126. | Flowers, Ashland and AddisonRJPdesigns | Gowns, Victoria Sdoukos Couture. | Hair, Hair By Dorthi. | Make-Up, Alana G | Models, Gabija Guzauskaite and Whitman Johnson

Stationery Classics: Party Animal

My favorite birthday card I have created would hands down be these penguins. Adorned in their finest party attire, these penguins were originally sketched out for a New Years card. Yes, these dapper gentlemen were meant for the New Year, but I loved them so much I knew they need to send more cheer all year long. I'm so glad these guys turned into my most beloved card.

Penguin_HappyBirthdy_02.jpg

Mothers Day Renegade Market

2017-05-13 10.11.21-2.jpg

Last month we had a great time at the annual Renegade Craft Fair, Chicago Pop-Up. We definitely lucked out with amazing weather both days, great crowds and a beautiful setting near their new offices in Pilsen. I loved getting to know new vendors, saying hi to clients I have seen before at the fair and debuting my new notepads. It was a fun weekend celebrating a great kick off to the summer and of course Mothers Day — with a surprise showing by my very own sweet mom!

2017-05-14 11.29.30.png

Beautiful art work on the side of one of the buildings. 

2017-05-14 15.26.47.jpg

Valentine's Day Around the Corner

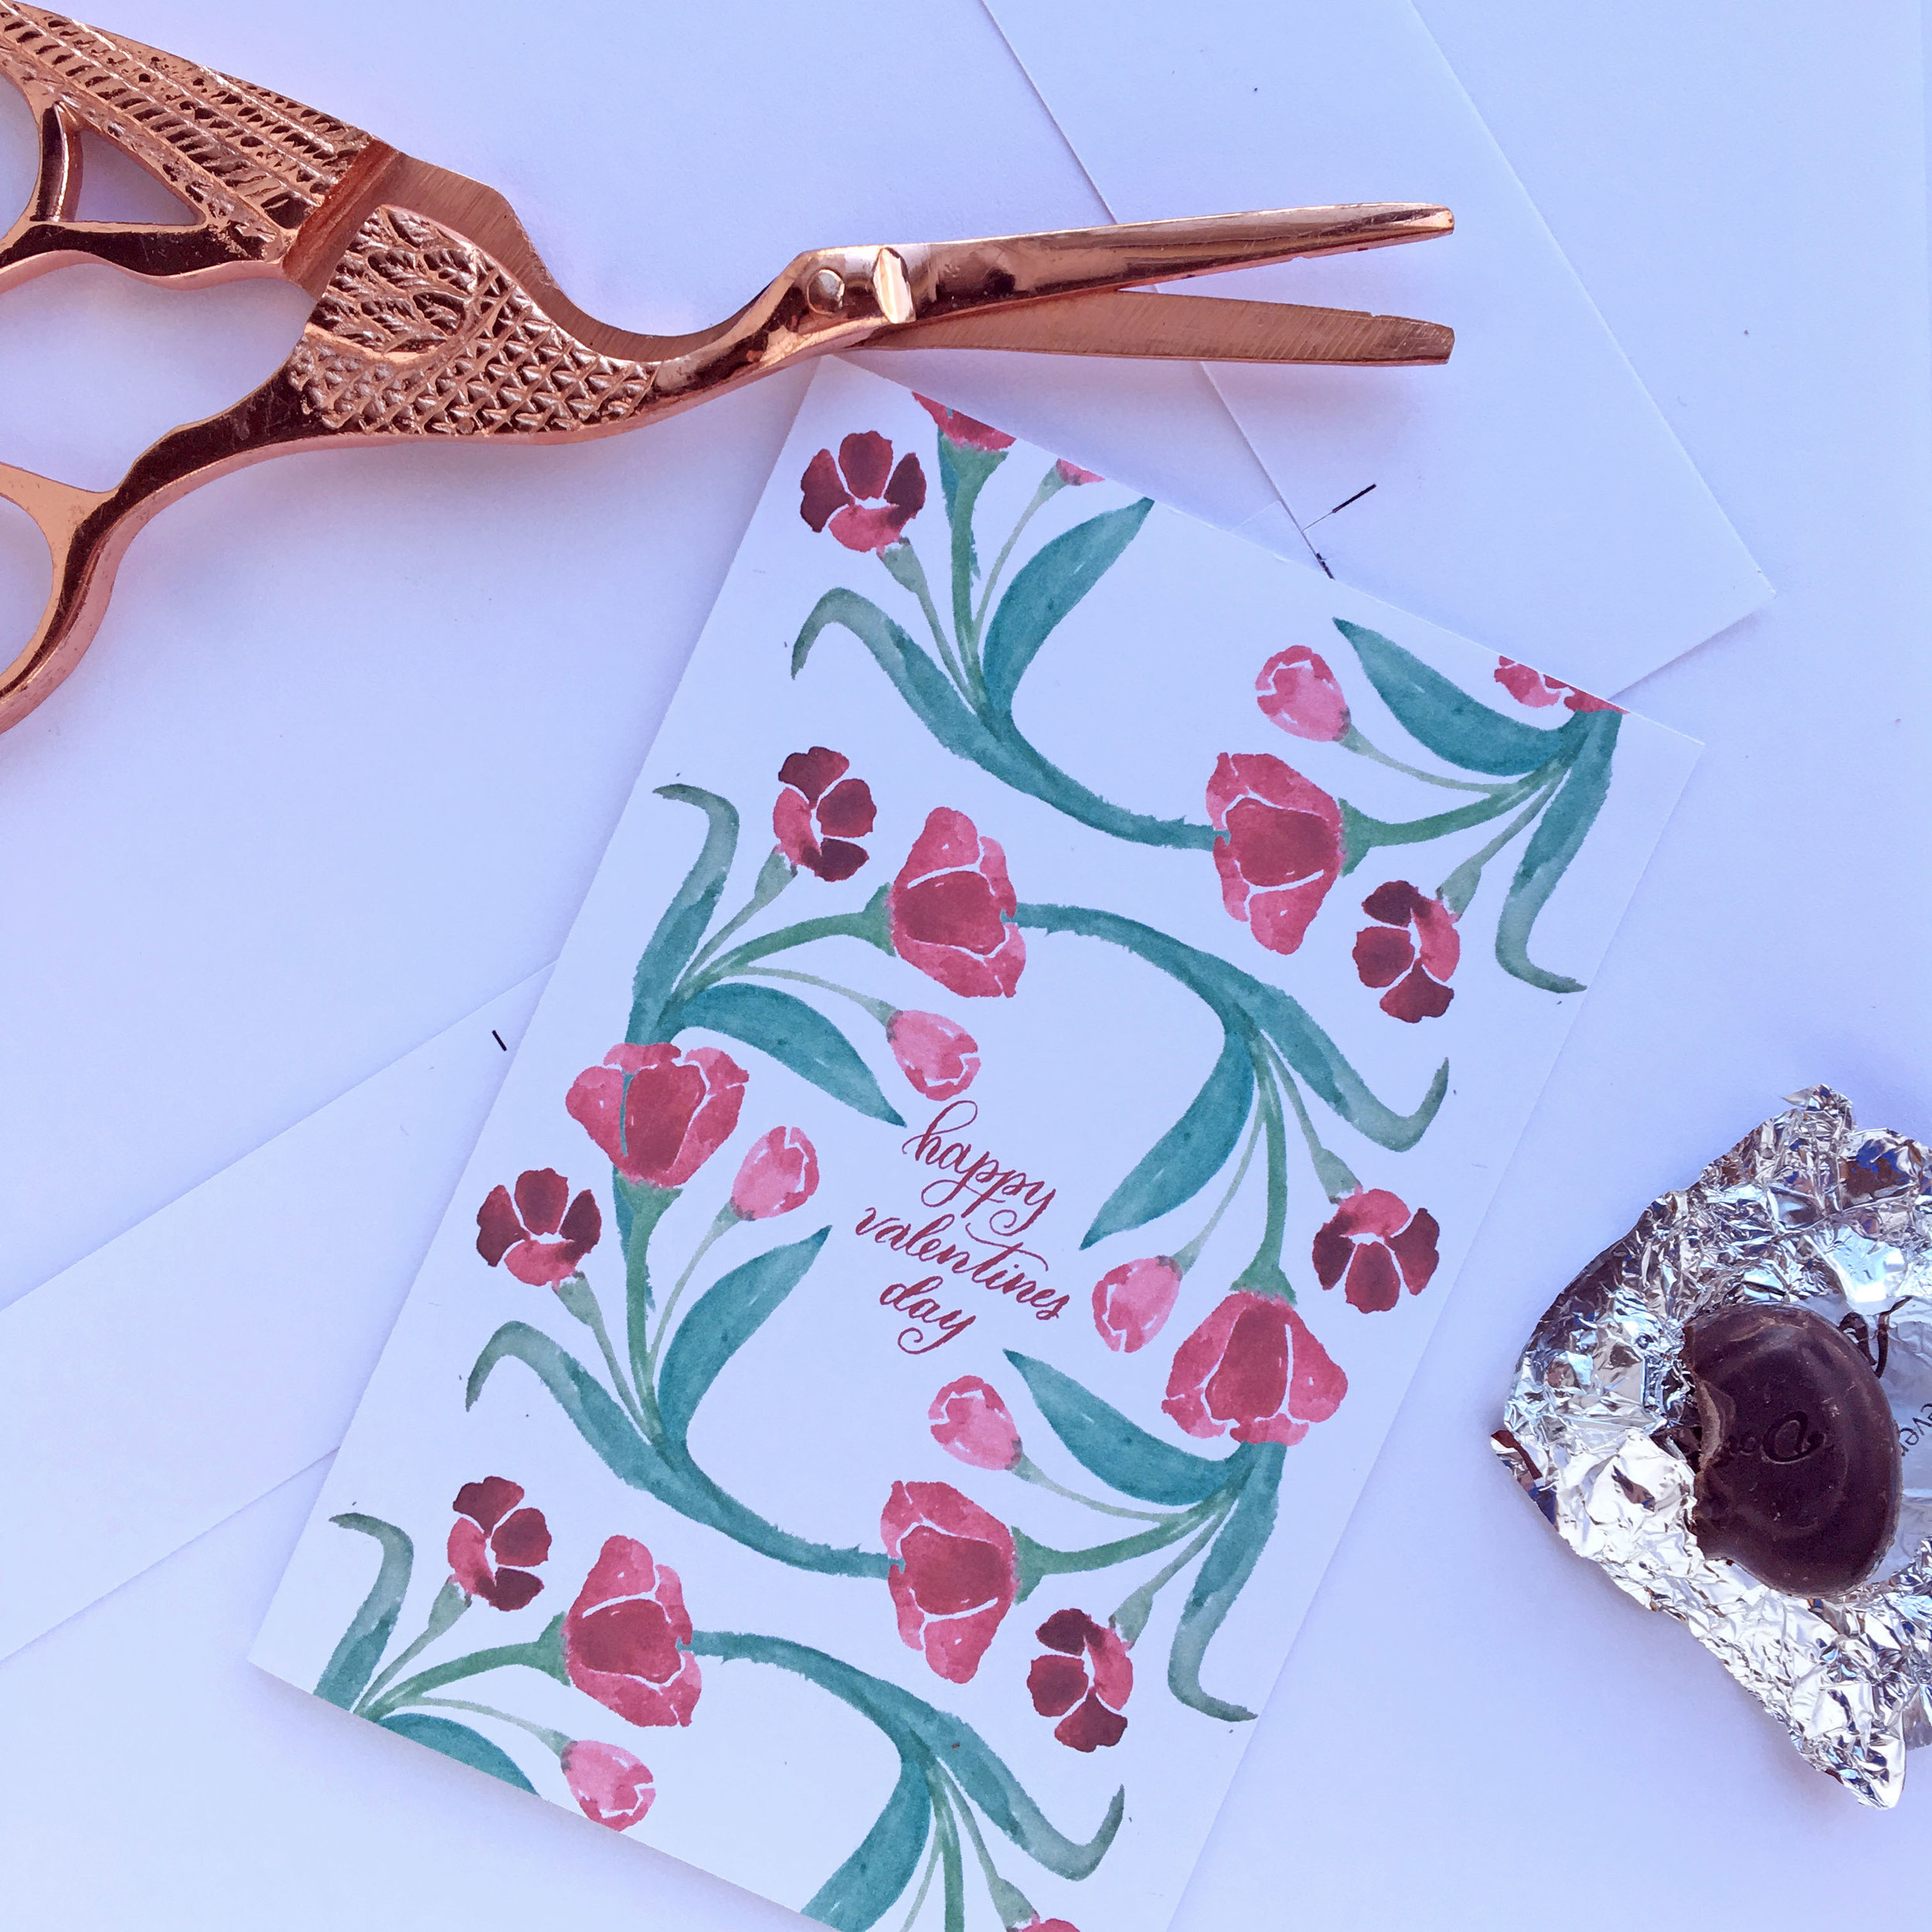
2017 is here and the first month is already finished, what?!?! I can't believe how fast this month has flown by—which that means February is almost here—but that means Valentine's Day is almost here! I'm not a sucker for the holiday, but have always loved how the reds and pinks have warmed up the dead of the winter months here in the MidWest. Plus it is another great excuse to send out cards and tell those around you why you love and adore them! What could beat that?

Check out the love collection and new Valentine's in the shop! Click here to see more!